5 Composition Tips for Landscape Photography
It may be hard to believe, but you can take very nice landscape photography even with the most basic equipment. You don't need the latest and greatest ultra-wide lenses (although that does help create a unique perspective) or the fastest lens with a f1.2 aperture. Landscape photography generally benefits from a deep depth of field, and ironically the type of camera with inherently deep depth of field are compact point and shoot digital cameras! DSLRs have shallower depth of field, hence they lends themselves to creating shots with nice bokeh (out-of-focus elements).
These 5 tips will not feature the discussed-to-death rule of thirds. Anyway, for those looking for something on the rule of thirds, just remember this rule: Don't place your subject right in the middle of the frame unless you are aiming for symmetry (see the next tip below).
Symmetry vs Asymmetry
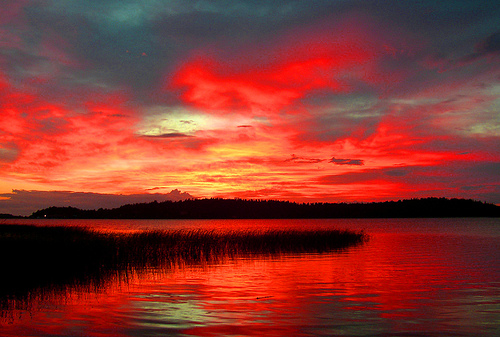
Decide if you want the picture to be symmetrical, or asymmetrical. Slight errors in composition (eg. a crooked horizon) will dilute the effect of the picture. Certain pictures benefit from asymmetry, which means that the left side is dramatically different from the right side. Asymmetry works well for pictures where you wish to highlight the differences between two elements in the picture.

burning sky by Per Ola Wiberg ~ Powi on flickr (licensed CC-BY)
Timing
Yes, timing plays a part in the composition of a landscape photograph as well. Timing in the elements within the picture includes choosing the right moment to click the shutter. I was composing a scene in my DSLR during a nice clear afternoon. The sun cast some interesting shadows across the bridge floor, but I wanted something more. Hearing footsteps behind me, I turned around and saw a farmer walking towards me. I waited for her to cross the bridge a little more, and clicked the shutter. It made the picture more interesting than if I had shot just the bridge alone.
Timing also includes choosing the right time of day to shoot. You can use the shadow of an object to lead the attention of the viewer to the main subject that is in full view. This type of shadow only appears when the sun is at a certain angle (see my post on light ratios for landscapes).
Framing Elements
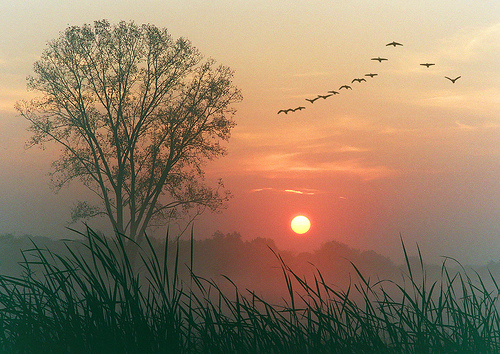
By choosing your framing elements carefully, you can bring a new point of view to a subject. Slow down, and look for interesting angles. The best way to do this is by taking a walk. Sometimes we pass by too quickly if we travel in motorized transport. Trees can be easily used as framing elements.

Autumn dawn by James Jordan on flickr (licensed CC-BY-ND)
You can also use the framing elements to tell a story, as in a picture of a door panel that has a sculpture of a sentry, guarding the entrance to the palace.
Perspective
Using a wide angle lens, we can exaggerate the perspective of a picture to shift the focus of the story to a specific element in the picture. Shooting from a very low angle, with your camera almost touching the ground, using an ultra wide angle lens, can exaggerate the height of vertical elements, and create converging lines that seem to meet at the top.
The other extreme is using a telephoto lens to compress perspective. Telephoto lenses make distant objects appear closer than they are, thereby allowing you to stack elements together.
Isolation and Focus

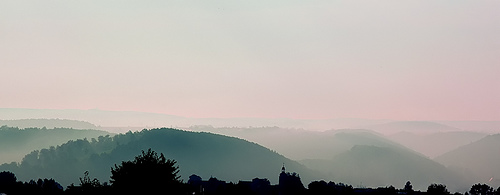
landscape by Hans-Peter on flickr (licensed CC-BY)
Giving the subject plenty of white space (as designers call it) around it can focus the viewer's attention to it. Panoramic pictures are good solutions if you want to create isolation. Panoramas do not need an ultra-wide angle lens. A standard kit lens is all you need, to take several shots side by side and later stitch them up on the computer. In fact, an ultra-wide angle lens would create too much distortion to stitch a panorama easily.


