Cross Polarization Photography
Cross polarization is a technique that can be used to take photos of clear plastic objects, revealing a range of psychedelic colors in the objects. It works by using a light source with light polarized in one direction, and then using a polarizer on your lens to filter the polarized light in the opposite direction.
By doing this very little direct light from the polarized light source gets through to the camera's sensor. However, stresses in the plastic object modify the light, meaning it is no longer polarized in the same direction as the polarized light source. This creates the fantastic colors.
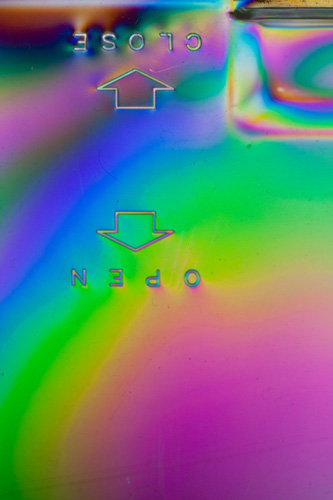
Cross polarized photo of part of a plastic tank lid
To create a polarized light source, you have a number of options:
A sheet of polarizing gel, e.g. Lee 239 polarizing filter, can be placed on a light source. A light box will work well, or you can place it in front of a lamp or flash for the same effect. A constant light source will be better than a flash as it will allow you to preview the polarization effect when rotating the polarizer on the lens. Polarizing gel is relatively expensive, around $30 / £50 for a 17" x 12" sheet.
If you have two polarizing filters, as well as using one on your lens, you can use the other in front of your light source. This won't work very well with large light sources such as a light box, but should work okay with a flash unit.
Probably the easiest method though, is to use a computer monitor. You will need a TFT monitor as opposed to the old bulky CRT monitors. TFT monitors already produce polarized light, so you just need to make the monitor white.
An easy way to do this is to create a new white image in your image editing software, and then maximize the image to full screen. Opening a blank document in notepad and then maximizing the notepad window will also work.
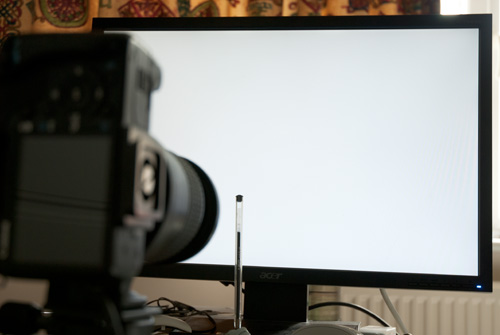
Using a monitor as a polarized light source
Place something made of clear plastic in front of the polarized light source, and mount a polarizing filter on your lens. Looking through your camera's viewfinder or the LCD screen, you can rotate the polarizer and preview the effect. The maximized effect is when the polarized light source turns black.
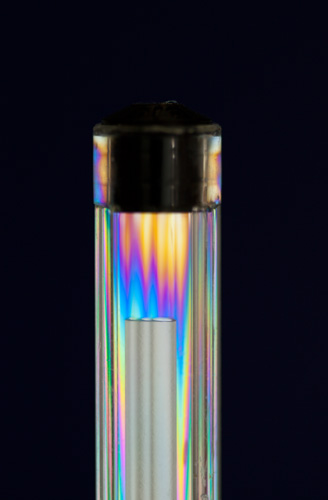
End of a ball point pen with background light completely cross polarized
But you can still get some nice results with the polarizer rotated so the light source is still visible.
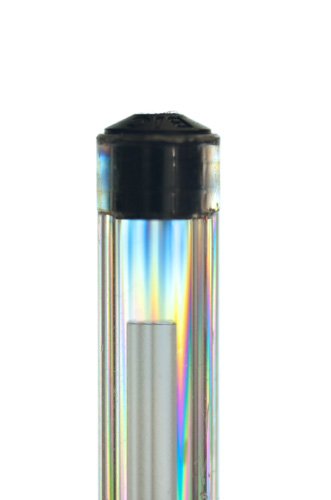
End of a ball point pen with background light partially cross polarized
If you are using a monitor as your polarized light source, you will likely need to use a slow shutter speed or a high ISO. I would recommend using a tripod and slow shutter speed. This lets you use a low ISO for better image quality and makes it much easier set up a shot where you can change the polarization and camera settings without having to worry about re-framing your subject after each setting change.

LED
As well as taking cross polarized photos of recognizable objects, you can also try focusing in on a small part of an object to create a more abstract composition.

Bottom of food container
Objects made from cheap brittle transparent plastic, such as CD cases, plastic drinking glasses and cutlery, plastic stationery, etc. work well for this effect. Softer plastics such as plastic bags can work sometimes as well.
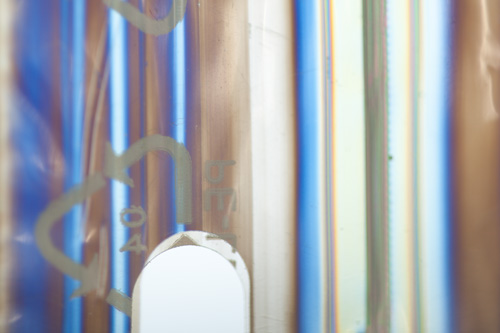
Partially cross polarized photo of a small plastic bag
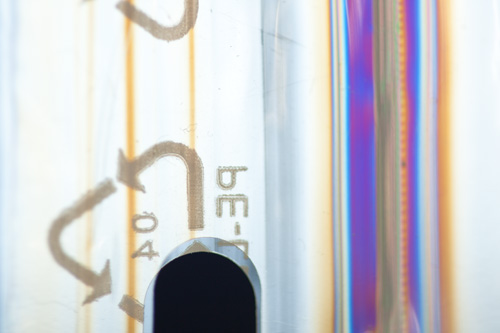
Cross polarized photo of a small plastic bag
If you already have a polarizing filter for your camera, cross polarization is a cheap and easy way to create interesting photos from boring items.


