How to get a straight horizon in your landscape photographs
In landscape photography, the vast majority of photos will look better if the horizon is straight. This is particularly true if there is a long flat horizon that we know should be straight, for example the sea or a lake.
In this article we'll look at how you can make sure the horizon is straight when taking a photo, and also how to fix an existing photo with a crooked horizon.
Checking whether the camera is level
To make sure the horizon is level, there are a few tools you can use. These methods allow you to check whether the camera is level in both the horizontal and vertical axes. Since it is only the horizon we are interested in making straight, you only need to check the camera is level in the horizontal axis.
If you level the camera in the vertical axis as well, you will probably end up with a centered horizon. Generally most photos look better with the horizon placed around one third from the top or the bottom of the image. So don't feel the camera should be leveled vertically as well.
Bubble level
You can purchase a hot shoe bubble level fairly cheaply. These fit into the hot-shoe of your camera, and work the same way as a spirit level, with an air bubble in liquid. When the air bubble is in the center of the level, then you know your camera is leveled correctly.

Gridlines
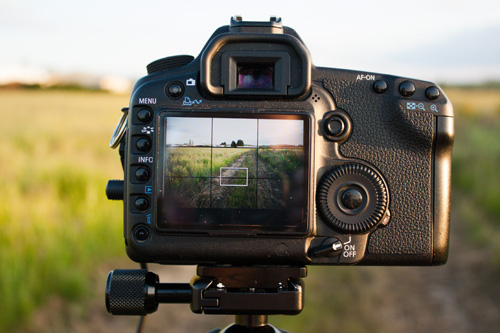
Most digital cameras allow overlaying a set of gridlines in the viewfinder or the rear LCD. These can be used as a useful guide to check the horizon is straight. If the horizon is nearer a gridline at one edge than it is at the other edge, then you know the horizon is not straight.

In camera level
Some of the newer digital cameras feature a built-in electronic level. This can normally be displayed on the rear LCD, and can be used to easily see if the camera is level or not. Here is an example video showing the electronic level on the Canon 7D camera:
Adjusting the camera for a level horizon
If the horizon is not level, then you will need to adjust the camera so that it is level. There are a number of ways you can do this.
Adjust the tripod legs
Adjusting the tripod to level the camera can be quite difficult if only a small adjustment is needed. But it is a good idea to adjust the tripod so that it is approximately level as a starting point. Adjust the length of the legs as needed if you are shooting on an uneven or sloping surface.
Adjust the tripod head
The majority of tripod heads will let you adjust the camera easily, so you can tilt it as needed for a straight horizon. Sometimes it can be difficult to make a very small correction though. The most accurate heads for making small adjustments are geared heads, where you can turn a small wheel to make tiny adjustments to the camera's position.
Use a leveling base
A leveling base screws on top of your tripod, and then you can mount your tripod head on top of the base. Leveling bases allow precision control of their tilt, often up to around 10° to 15° of movement.

They are most useful when you are using a tripod head that does not feature any tilt control itself, for example a panoramic tripod head.
Correcting a sloping horizon in software
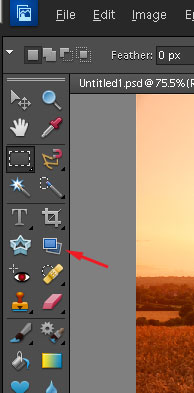
Fixing an image with a crooked horizon using image editing software is pretty simple. Most software has a straighten tool. Below is the straighten tool found in Photoshop Elements.

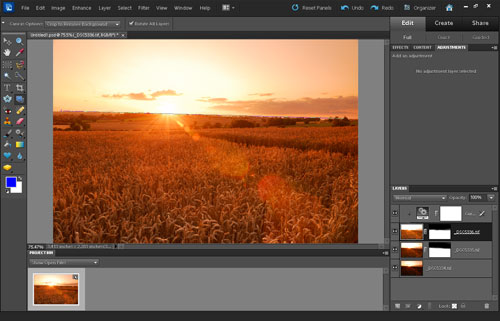
You click at one end of the horizon, then drag out a line to the other end of the horizon.
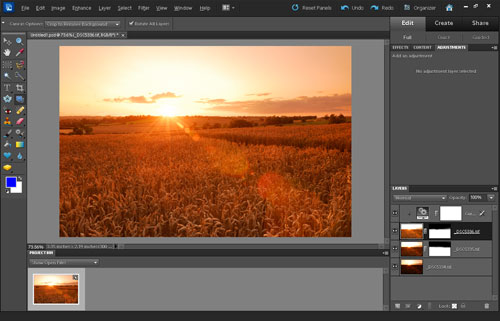
The software will then correct the image so that the line you pulled out along the horizon is straight.
You can watch the process of straightening an image in Photoshop Elements and also the full version of Photoshop below:
Straightening an image in software is easy, but the image needs to be cropped after being rotated to avoid empty space around the edge of the image. Most image editing software does this automatically. You do loose some of the image around the edge due to the rotation and cropping, so it is better to get the horizon straight in-camera if you can.


