Photography Basics – How To Use Contrast
Taking excellent photographs is far more dependent on the skill of the photographer than on the type of gear used. Just because you have a good camera doesn't mean you'll get good photographs as some professional photographers have been known to shoot with disposable cameras.
One of the best things you can do to become a great photographer is to get a solid understanding of the technical elements and how they interact with each other. Composition, contrast, color balance, depth of field – all of these things combined are what make a photograph unique, and without an understanding of each you may find that your work suffers.

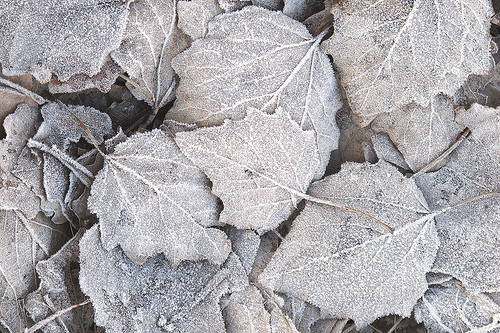
Froozen leaves by mpcevat on flickr (licensed CC-BY)
With that in mind, here is a comprehensive breakdown of one of these elements – Contrast.
Contrast?
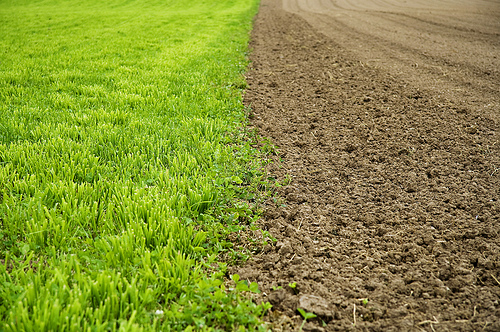
Contrast can be easily described as the range of difference between various tones in any given photograph. In black and white photography, contrast describes the difference between the darkest and lightest tones, but also defines the grayscale. When it comes to color photography, contrast refers to how sharply the colors stand out from each other.

Color contrast by MissTurner on flickr (licensed CC-BY)
Controlling Contrast
If you want to control the contrast in your photograph there are several ways you can do it. Most simply, you can import your photographs into any digital photo-editing suite, find the contrast button, and drag the slider around until you get the desired result. When you're in the darkroom, you can use filters on the enlarger and increase the level of contrast in the picture (remember the higher the filter number the higher the contrast).
Controlling contrast is a bit trickier in-camera, and depends heavily on lighting conditions, lens filters, and your exposure time. It's usually a good idea to shoot with a little caution and opt for less contrast than more since you can always increase the contrast later without losing quality.
A Good Quality of Contrast
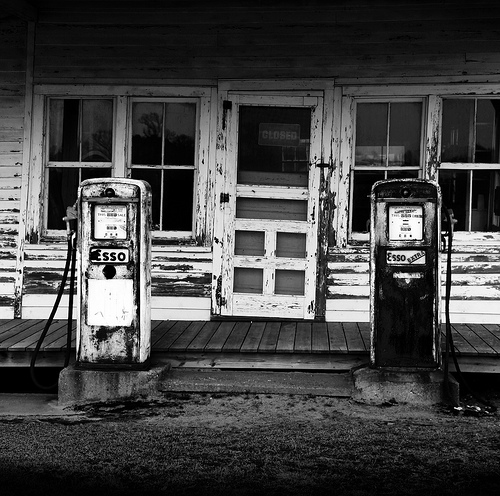
While opinions differ on how much contrast is "just right," a good general rule of thumb is that your tones should run the gamut from very dark to very bright, with every level in between represented in the photograph. This can be best seen in black and white photographs as you want true black, true white and every shade in between. Essentially, good contrast is whatever level allows your colors to "pop" or your subjects to be well defined.

Esso Black & White by Beadmobile on flickr (licensed CC-BY)
Adjusting Your Contrast
One of the classic tricks in the photographer's toolbox is dodging and burning photographs. This is a technique to adjust the contrast of specific parts of a photograph instead of modifying the contrast of the entire image. This is useful in adjusting the composition of your images (darkening the background), highlighting key features of a subject (lightening the eyes), or just improving the overall "look" of the shot.
Photographers often create custom stencils in the darkroom that go on the top of the blank photo paper. These stencils allow certain parts of the photograph to be exposed for different periods of time than others, which in turn gives the photographer greater control over the contrast of the entire image. Fortunately, this process has been greatly simplified in most photo editing suites and areas of interest can be dodged or burned with a mouse pointer.

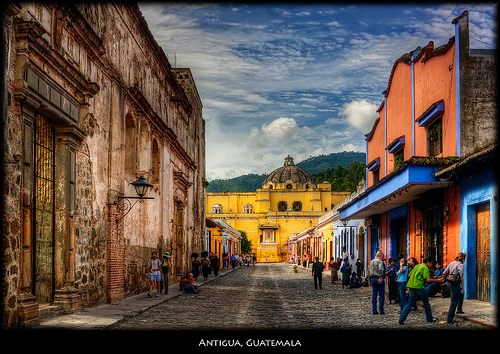
Antigua, Guatemala by szeke on flickr (licensed CC-BY)
Areas of a photograph that are "dodged" will be exposed to light for shorter periods of time, or in the case of digital editing will be lightened and lose contrast. Areas that are "burned" will gain contrast and the grain will grow darker.
Controlling the contrast of your images is a tricky skill, but with a little practice and a whole lot of dodging and burning it will become second nature. Good contrast contributes to the narrative of your photograph and helps to make the important things stand out while the less important things fade away.
When it comes to taking pictures, try to picture what the contrast will look like before you shoot and then go crazy when it comes to making changes in the darkroom or on the computer. As with everything, practice makes perfect!


