Photoshop tutorial: Create a dreamy glowing effect portrait
In this tutorial I'll show you an easy way to add a dreamy glowing effect to a portrait photo. As usual, I'll demonstrate the process using Photoshop Elements, but the process is the same in the full version of Photoshop CS, and should be similar in other image editing software.
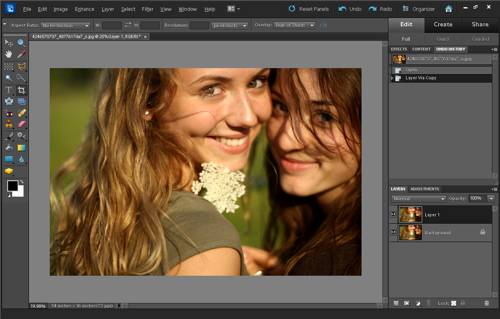
For the portrait, I'll be working on this lovely photo by eflon from Flickr. Click through on the image to view it on Flickr where you can download a larger version to follow along with the tutorial.
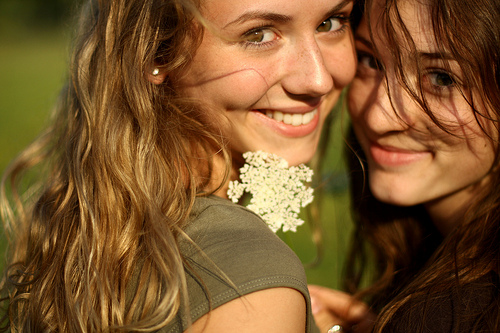
smiles by eflon on flickr (licensed CC-BY)
After opening the photo in Photoshop, duplicate the background layer. You can do this a number of ways:
- In the layers palette drag the background layer down to the new layer icon
- On the menu go to Layer > Duplicate Layer...
- Press Ctrl + J (on a PC, Cmd + J on a Mac) on the keyboard
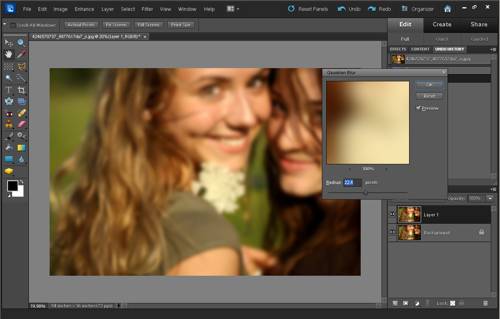
With the duplicate layer selected in the layer palette, on the menu go to Filter > Blur > Gaussian blur. In the Gaussian blur settings, choose a radius that leaves the subjects still easily identifiable, but gives a good amount of softening blur.
For this image I've chosen a radius of 22.4 pixels. Bear in mind that smaller images will require a smaller radius, while larger images will require a larger one.
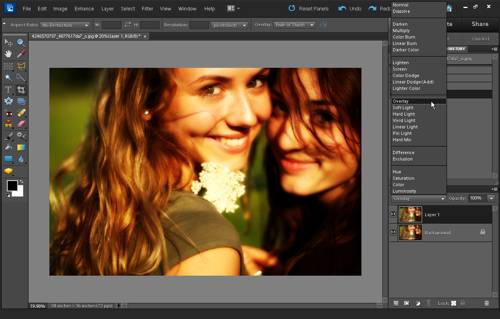
After applying the gaussian blur, change the blend mode of the blurred layer to 'overlay'. 'Soft light' blend can also work well.
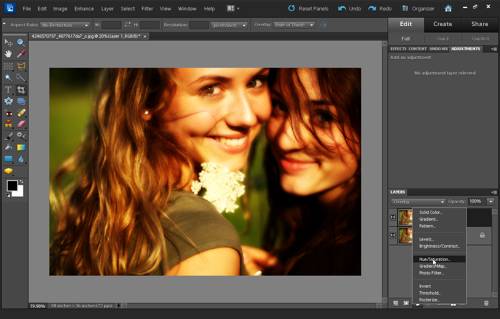
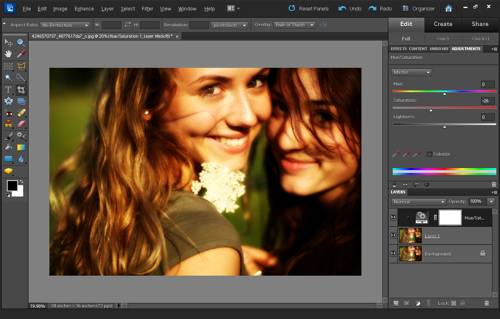
We could say we're done now, but let's reduce the effect on the colors a little. To do this, create a new Hue/Saturation adjustment layer.
We need to clip the Hue/Saturation layer to our blurred layer so that the adjustment will only affect the blurred layer. To do this, in the layer palette, hold down the Alt key (or Option key on a Mac), and hover your mouse cursor between the Hue/Saturation layer and the blurred layer. You should see that the mouse cursor becomes two overlapping circles.
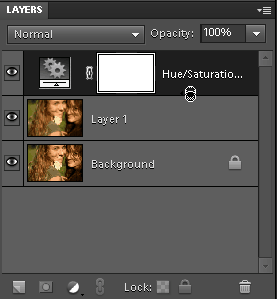
Click, and the Hue/Saturation layer will become clipped to the blurred layer. The Hue/Saturation layer will become indented with an arrow pointing down on the left to show it is clipped to the layer below.
Reduce the saturation as you see fit. I've used -26 saturation, which I think gives the image a nice warm feel without being too warm.
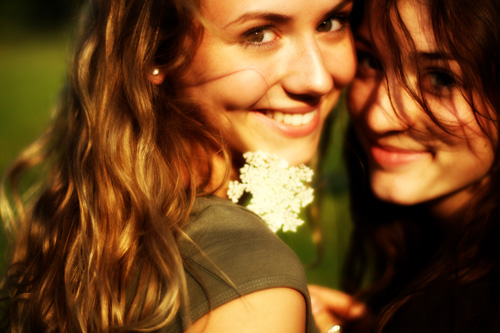
The final photo looks like this:
Applying a dreamy glow effect to your photos is quite easy. It can be used with a variety of subjects, but generally works best for portraits. Have a play around with the technique, try mixing it with some other processing techniques, and see if you'd like to use this effect in your own photography.
