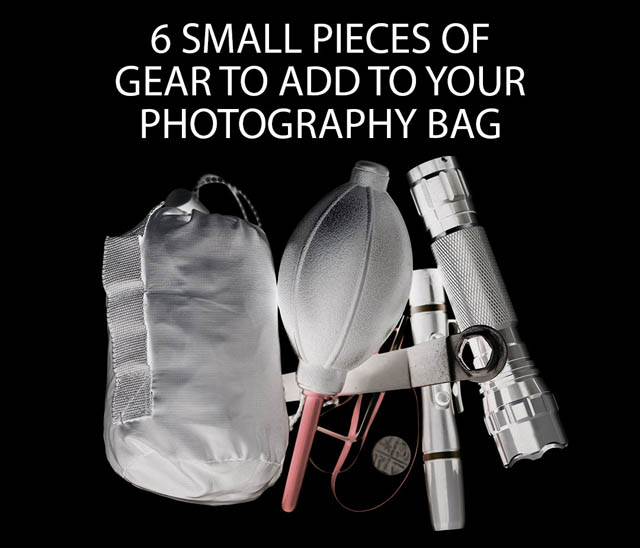
6 small pieces of gear to add to your photography bag
In this article we'll look at six small pieces of equipment that most photographers don't think about bringing with them when going out shooting. The fact is that most of time these pieces of gear aren't needed. But when you do need them, you'll be really wishing you had packed them.
None of these items take up much space, so they're worth just adding to your photography bag and leaving there on a permanent basis. Then on the odd occasion when you do need them, you won't be kicking yourself that you left them at home.
Allen key and small wrench
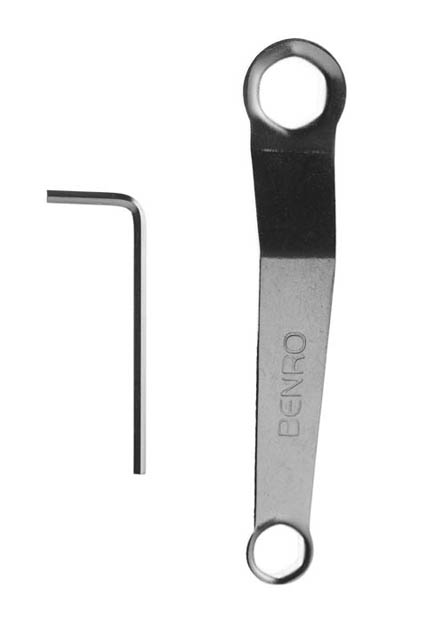
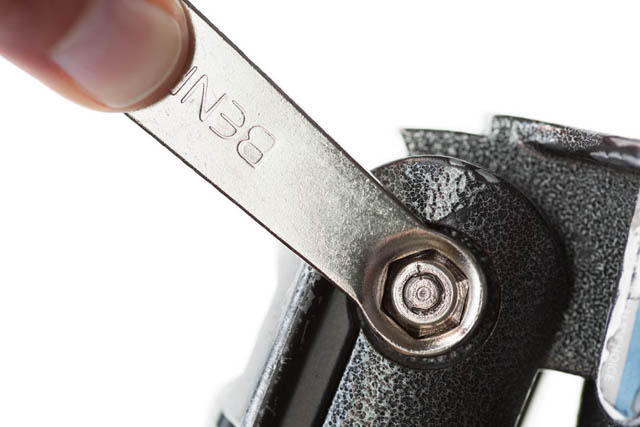
Wrench and allen key for adjusting tripod
These items are important for tripod users. You should maintain your tripod on a regular basis, making sure that all the nuts are tightened correctly, especially at the leg joints. However, sometimes things can work themselves loose quite quickly, especially if you've had your tripod in a vehicle driving over bumpy ground.
Having a wrench / spanner or allen / hex key handy to tighten up any loose joints on your tripod in the field can really save the day if something does come loose. You'll need to make sure you have the appropriate tool for your tripod. Many tripods come complete with a wrench and allen key designed for use with that specific model. So taking these along with you makes perfect sense.
Tripod heads can also occasionally need some parts tightening. Again, check what type and size of tool they need to tighten any parts. With any luck it will use the same tool as your tripod. If not, then adding an extra allen key into your bag hardly takes up any more space or adds any weight.
Rain gear
Even on a day that starts off with clear blue skies, rain clouds can blow in amazingly quickly and leave you and your gear drenched if unprepared. I recommend packing at least rain protection for your camera bag, plus preferably pack a waterproof jacket for your camera so you can continue to shoot in the rain too.
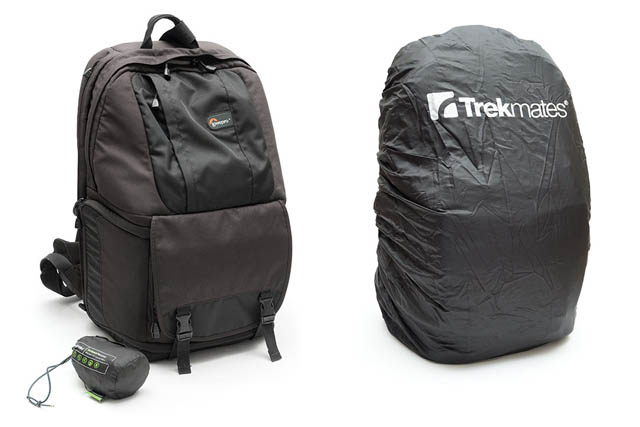
Many camera bags come complete with a waterproof covering sewn into a small pocket. You can then extend the covering out from the pocket to cover the bag in the event of rain. In this case you don't need to remember the cover, as it can't be removed from the bag - very handy.
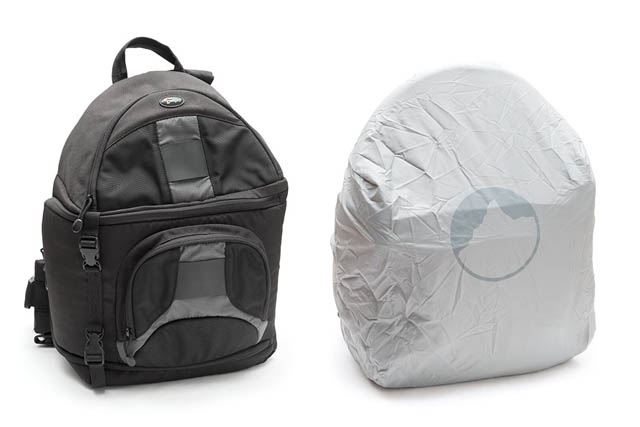
Bag with a built-in rain cover that extends out from a pocket at the bottom of the bag.
For other bags you can purchase bag rain covers. These are just covers with an elasticated drawstring that you can pull over the bag to waterproof it. They pack up in a small bag when not in use, so don't take up much room to take with you.
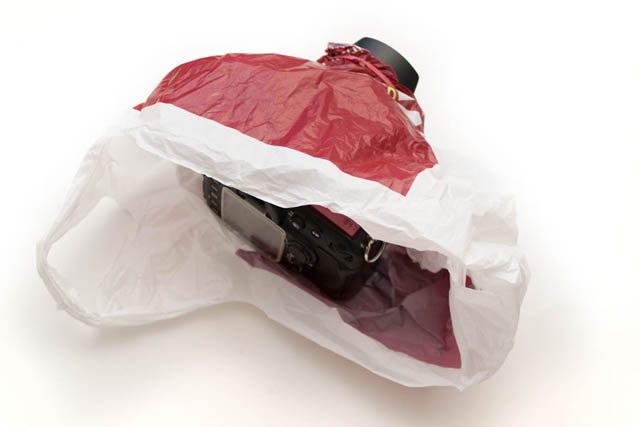
For protecting your camera while using it in the rain, you can purchase specially made camera rain covers. However, I'd suggest just taking a plastic bag with you. If it starts raining, then tear a hole in the bottom just big enough to fit the end of your lens through. Hey presto, instant camera rain cover.
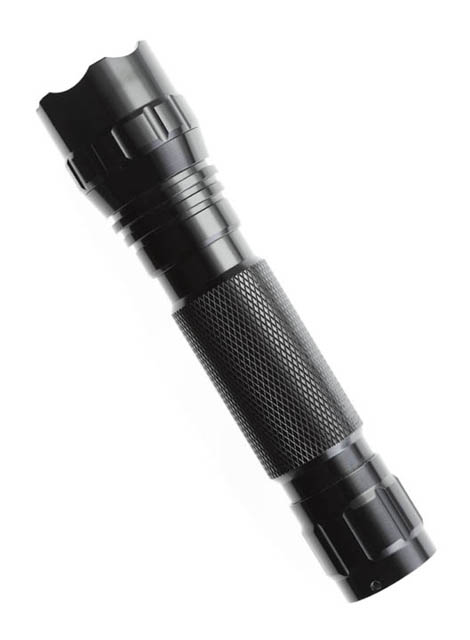
Flashlight
If you're out taking photos around sunset, it can be easy to stay out for quite a while - you'll often get beautiful purple tinted clouds for some time after the sun has set. But you're then faced with the task of getting back in the fading light. A flashlight can therefore come in very handy, particularly in the winter where it can get dark quite quickly after sunset.
When photographing in the dark, a flashlight can come in handy too. If you're shooting star trails, a flashlight can let you easily see all the camera controls and settings when setting up for the shot. It can also be used for painting light onto foreground objects during a long exposure.

Castle Beach – Basic Light Painting with a Single Torch by William Cho on Flickr (licensed CC-BY-SA)
And a flashlight can be used for painting light trails through the air during a long exposure too. Add a few pieces of colored cellophane to your bag and you can even change the color of your flashlight to produce various colored light trails in an image.
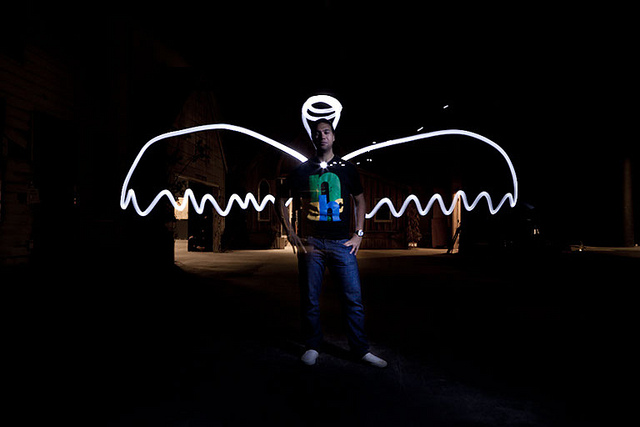
Light Painting by VFS Digital Design on Flickr (licensed CC-BY)
A thin coin
The usefulness of this one depends quite a bit on your camera and whether you use a quick release plate with it. A quick release plate is a plate that screws onto the bottom of your camera and allows you to quickly attach / detach the camera to / from your tripod head.
To attach a quick release plate securely to a camera, so that the camera won't move at all on the plate, you really need to screw the plate on tightly. Using a thin coin in the slot of the plate's screw head allows you to get enough torque to tighten the screw firmly.
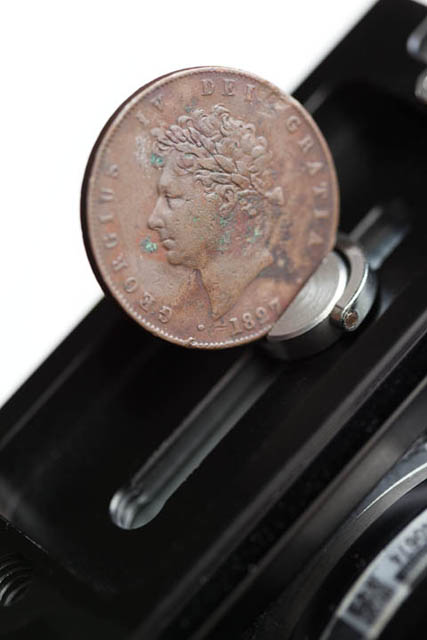
Using a thin coin to tighten the screw on a quick release plate / L-bracket
Depending on your camera and the plate model you are using, you may never need to remove the plate from the camera once it has been attached. However, in other cases the plate can obscure the battery or memory card compartments of the camera.
And so the plate has to be removed then reattached whenever the battery or memory card needs changing. And it is in these cases that having a thin coin with you to undo the screw on the quick release plate can come in very handy.
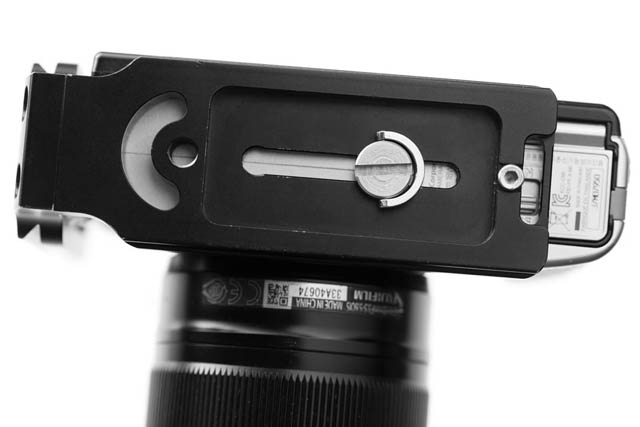
Example of a Quick release plate and camera combination where the plate blocks the battery and memory card door - the plate needs removing to change the battery or memory card.
Without some way of undoing the tightened screw, you'd be stuck with the plate attached to the camera and no way of changing the battery or memory card. Even if your camera and plate combination don't have this issue, a thin coin can still be useful to have for the odd occasion where the screw starts to loosen and needs tightening.
Cleaning gear
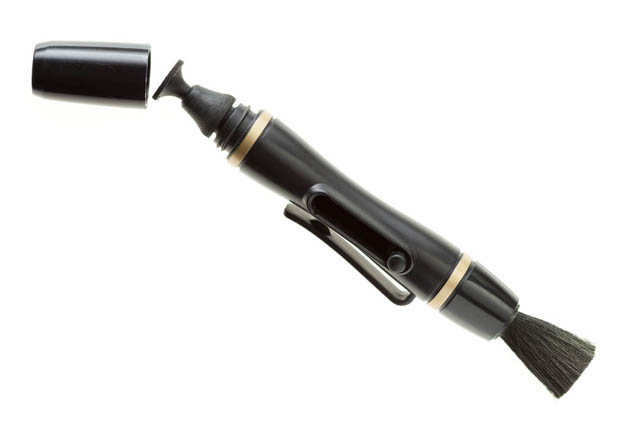
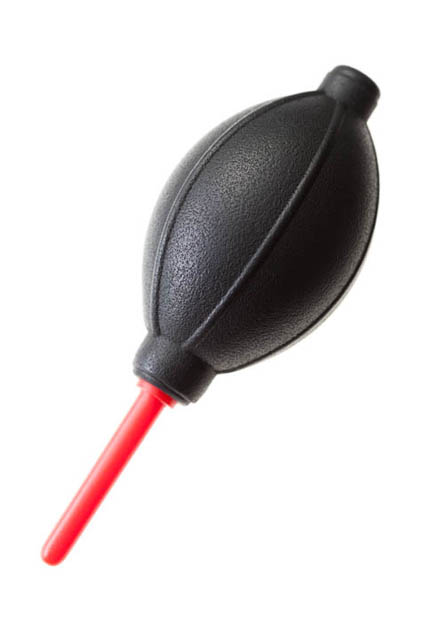
Equipment to clean your photography gear can be quite easy to forget, but when something gets dirty you'll wish you'd remembered it. The main pieces of cleaning equipment I always bring with me are a lens pen and a bulb blower.
The lens pen has a soft brush on one side that can be used to brush away particles of dirt from the front of your lens (or anywhere else). And the other side has a soft pad that can be used to rub away smears and fingerprints from the lens' glass.
A bulb blower is useful for blowing dust off your lens and camera. In the event you get some dust on your camera's sensor, it can blow away the worst of that as well.
You may also want to consider bringing a sensor cleaning kit with you. A couple of sensor swabs and small bottle of cleaning fluid will enable you to clean off more stubborn dust particles that are stuck on the camera's sensor. Personally I don't take these with me - a blower is usually enough to clear the worst and a more thorough cleaning can be done back at home or the hotel.
Elastic bands
Elastic bands can have many uses. One use I mentioned earlier is attaching a rain cover to your camera. Another one where you don't realize the usefulness until you actually need it is when trying to remove a stuck filter from a lens.
Putting an elastic band around the filter gives you a larger area to grip and aids in removing the filter. Just remember not to grip too tightly, as this can actually make the filter more difficult to remove. This trick is particularly useful for polarizing filters, as they only have a small area that attaches to the camera you can grip.
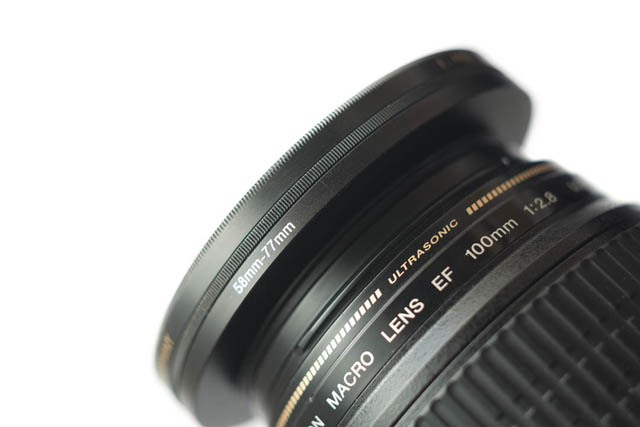
Polarizing filters only have a very thin area to grip when removing the filter
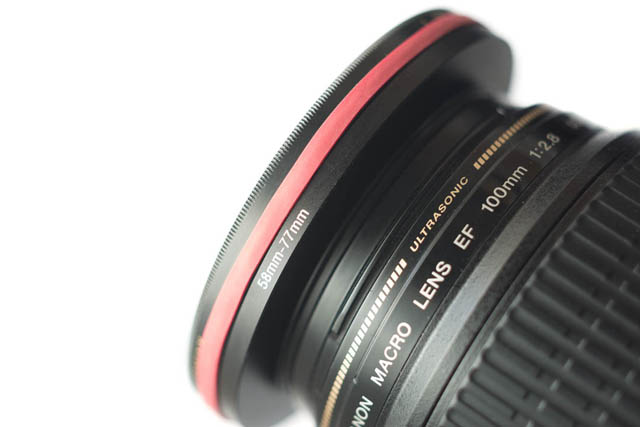
Adding an elastic band gives a much better grip on the filter, making it easier to remove
Elastic bands can also be used with a reversed lens hood to attach a slot filter directly onto the front of a lens. This can aid in reducing reflections between the filter and the lens as it creates a tight seal and prevents light hitting the back of the filter.
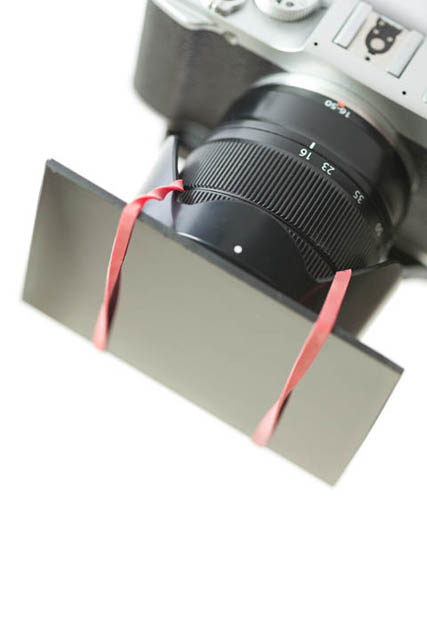
Attaching a welding glass filter (cheap alternative to a strong ND filter for long exposure daylight photography) to a lens using elastic bands and a reversed lens hood.
If you're shooting video, elastic bands can be useful too. For a pull focusing aid, add one around the edge of the focus ring and another around the lens barrel just behind or in front of the focus ring. Then make a mark on both bands at the point you want focus to start. Move the focus ring to where you want the focus shift to end. Then mark on the focusing ring rubber band this new position.
Now you can easily shift the focus ring between the start and ending focus positions just by lining up the start and end marks on the rubber band around the focus ring with the mark on the rubber band next to the focus ring.
While you may never have needed any of these items in your photography before, I can assure you that you not having them when you do need them is very frustrating. They don't take up much space in your bag, so just chuck them in, then forget about them until you need them. And of course, don't forget the more common things like extra batteries and memory cards either!
