Can’t open RAW image files from your new camera?
I've written before about the various advantages shooting RAW files with your camera has compared to shooting JPEGs. However, there is one big problem with RAW files that you are most likely to come across when you purchase a new camera.
This problem is that most camera manufacturers use a proprietary RAW format, and they change the file format with each new camera they release. This means that if your photo editing software is not up to date, then it won't be able to open the images as it doesn't understand the new format. In this article we'll look at this problem and how you can get round it.
Update your software
If you purchase a new camera but your editing software can't open the RAW files, it likely means that your software is out of date. Most companies that offer RAW conversion software release a new version every couple of years or so. And with the release of the new version (or soon after the release) they often stop releasing updates for the old version.
That means if you're using an old version of Photoshop, Lightroom, or any other photo editing software, then it is likely you'll need to upgrade to the latest version to be able to open the RAW files from a newly released camera.
But before you go ahead and buy the latest version, make sure you take a look at the requirements it needs to run. Newer versions of software often add quite a few improvements as well working with RAW files from new cameras. But they nearly always require a more powerful computer than older versions too.
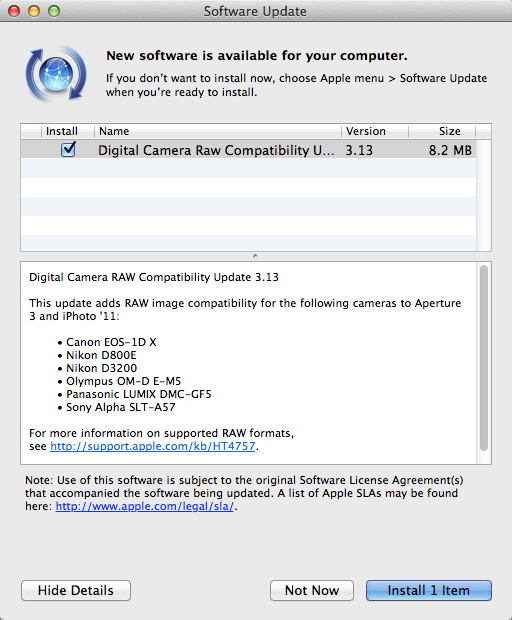
Software Update 23/May/2012 by RV1864 on Flickr (licensed CC-BY-ND)
Use alternate software
If you don't want to upgrade your current editing software, you could take a look at alternative software that can open the RAW files. For example, maybe you currently have an older version of Photoshop CS but don't like the monthly payment licensing model of Photoshop CC. You can stick with your current software for certain editing tasks, while using different software to do the RAW conversion.
While there are quite a lot of different RAW conversion programs available, the latest versions of the following ones are generally pretty good at keeping up to date with the latest camera releases:
- Photoshop CC
- Lightroom
- Photoshop Elements
- Capture One
- UFRaw / DCRaw (free)
- DXO Optics Pro (Often not quite as fast as the others at adding support for new cameras)
Bear in mind, that just as with the solution of upgrading your existing software, any new software may have a higher system requirement than your computer can handle. So make sure you look at this before deciding on replacement / additional software that can handle your new camera's RAW files.
Fuji X-E1 outdoor RAF Capture One by Photos By 夏天 on Flickr (licensed CC-BY-ND)
Make sure that any software you are considering as a replacement explicitly states that it is compatible with your camera model. You don't want to purchase some software for opening your RAW files, and then find that it can't actually do it! Although the various RAW conversion software I mentioned above are pretty good with their camera support, there can still be the odd camera that a RAW convertor may take some time to add support for, or may never add support for.
Gillie enjoying a nice spring day by Dwight Sipler on Flickr (licensed CC-BY) - RAW conversion with DXO, edited further in GIMP
One disadvantage of using alternative software is that you have to learn how to use it. Another is that it may give quite different results in its standard configuration compared to what you are used to from your old software.
Golden Spiral by Ian Muttoo on Flickr (licensed CC-BY-SA) - processed with UFRaw
If you have an old version of Photoshop that can't handle your new camera's RAW files, and decide to purchase a different (up to date) piece of software to convert them, this may slow your process down slightly. Rather than being able to open a RAW file directly into Photoshop, you'd need to convert it in your new software first, then save it out as a TIFF or PSD file, and then open that file in Photoshop to be able to perform further edits there.
Convert to DNG
DNG (Digital Negative) is a RAW file format developed by Adobe that was intended to be universal. Unfortunately it never really caught on, and most camera manufacturers still stick with their proprietary RAW formats. However, you can convert RAW files into DNG format, and this then allows the file to opened with any RAW converter that supports DNG (which is pretty much all of them).

PB170029.ORF.dng.jpg by 961832p on Flickr (licensed CC-BY) - Olympus RAW Format (ORF) converted to DNG, then processed through RAW conversion to a JPEG
Adobe offers a free DNG converter that you can use to convert RAW files to the DNG format, so there is no cost to this solution. However, it does mean that you have to spend the time waiting for your RAWs to convert to DNG before you can actually use them.
Most photographers like to keep a copy of the original RAW file as it came off the camera. If this applies to you, then DNG conversion could be problematic in that you'd likely want to keep both the original RAW and the converted DNG, doubling up on the amount of storage space each image takes. Of course, if you don't mind deleting the original RAWs once you have a DNG version, (or deleting the DNG versions after processing them to create JPEGs / TIFFs), this won't be an issue at all.
Use your Camera Manufacturer's software
Nearly all camera manufacturers provide software that can open the camera's RAW files, either with the camera, or downloadable from their website. In theory this gets round the problem, as you can just use the supplied software for opening your new camera's RAW files.
However, in practice the RAW conversion software provided by the camera manufacturers is often slow, buggy, lacking in features, may only be available for Windows, and may have fairly high system requirements. There's good reason most photographers use third party RAW conversion software rather than that provided by the camera manufacturer.
However, if it's the only way of converting a camera's RAW files you have, then it's certainly better than nothing.
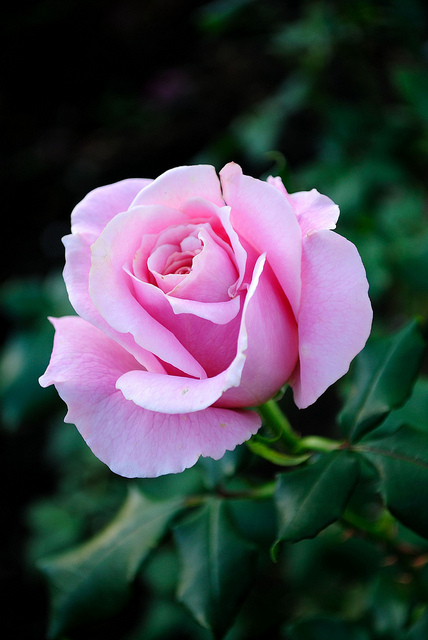
Pink Rose by Eka Raditya Rooshartanto on Flickr (licensed CC-BY) - RAW processed through the camera's manufacturer's bundled RAW conversion software (Nikon ViewNX)
One potential benefit is that the supplied RAW conversion software is able to accurately read all the settings included in the RAW file. If you open a RAW file in the camera manufacturer's software, and don't change any settings, it will give an image that looks just like the preview on your camera's LCD. Whereas if you use third party software, it will likely look a bit different. Whether this is actually a benefit to you or not depends a lot on your workflow.
In-camera RAW conversion
While not available in all cameras, many new cameras allow you to perform an in-camera RAW conversion. This is usually extremely basic, not allowing you to tweak any settings individually. Some different presets may be available that you can choose from however. So you could perform a black and white conversion, for example, just you wouldn't have any control over exactly how the conversion is done.
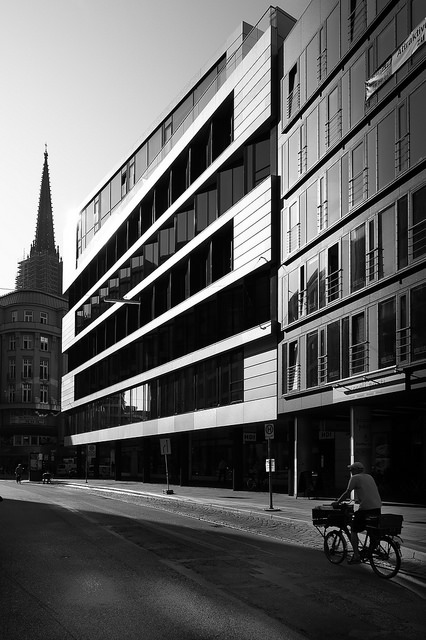
Großer Burstah by Michael Behrens on Flickr (licensed CC-BY-ND) - in-camera RAW conversion
Doing the conversion in-camera isn't a very useful solution for practical purposes though. The main use is when you want to share a new image while you're out in 'the field'. You can convert your RAW image to a JPEG in-camera, then send it to your phone for emailing or uploading to the web.
Shoot JPEG
Although shooting RAW has significant advantages compared to JPEG, that doesn't mean that JPEG images are rubbish or useless. If you get the white balance and exposure right in-camera, a JPEG image can still stand up to quite a bit of editing before it starts to fall apart.
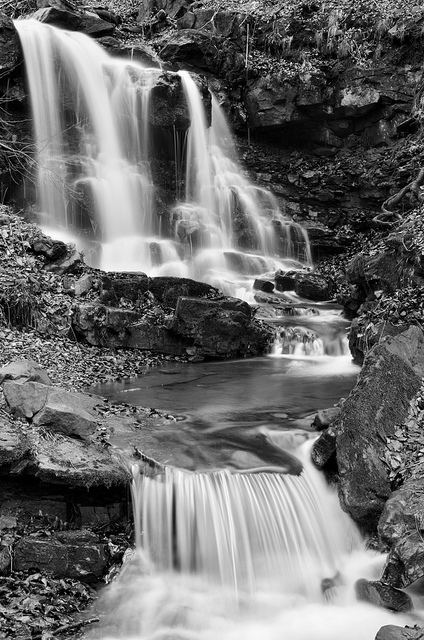
Local waterfall by Pavel P. on Flickr (licensed CC-BY) - edited by combing three JPEG images together
And if you don't want to edit your images, then JPEG actually has an advantage over RAW. So long as you get the image correct in-camera, then you've just got your final image straight away. No need to go through any RAW conversion process.
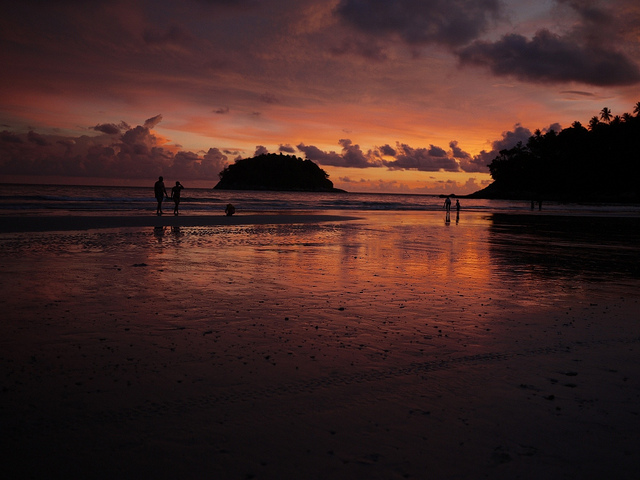
Kata beach sunset by senza senso on Flickr (licensed CC-BY)
If you have up to date RAW conversion software, but your camera is so new that the software manufacturer hasn't added support for your camera yet, then shooting RAW + JPEG may be the way to go. This means that your camera records both a RAW and JPEG version whenever you take a photo.
You can use the JPEG versions for the moment, while also having the RAW versions that you can go back to at a later date when your software has been updated to support your camera. It does mean that your images take up about twice as much space as they would otherwise (since you have both RAW and JPEG versions). But it can be a nice solution if you like the flexibility of RAW but also want to start shooting with your new camera straight away.
Huntington Beach Pier in B&W by Laurence Lee on Flickr (licensed CC-BY-ND)
Modify the EXIF
I definitely would not recommend this as a good solution if your RAW conversion software does not support your camera's RAW files. But I thought I'd mention it, as it can solve the problem, just not in a very elegant way. The main time people resort to this solution is when a camera is brand new and none of the RAW converters have had updates to handle the camera's files yet.
This solution does not work in all cases either. What happens is that because the RAW format changes from one camera to another (even from the same manufacturer), RAW conversion software checks the EXIF of the RAW file to ensure that it knows how to handle the file. If the camera model in the EXIF is not known to the software, then it will refuse to try and convert the file.
However, sometimes the RAW format used between two models can be very similar. The RAW files your new camera creates may actually use the same format as another camera from the same manufacturer that your RAW conversion software already supports. The software may actually know how to open the RAW file, just it thinks it doesn't know because it doesn't recognize the camera model it was taken with.
In this case, you can use something like Exiftool to modify the camera model name stored in the EXIF. By changing it to a model that produces RAW files in the same format, but your RAW conversion software supports, then the software will open the files without problem.
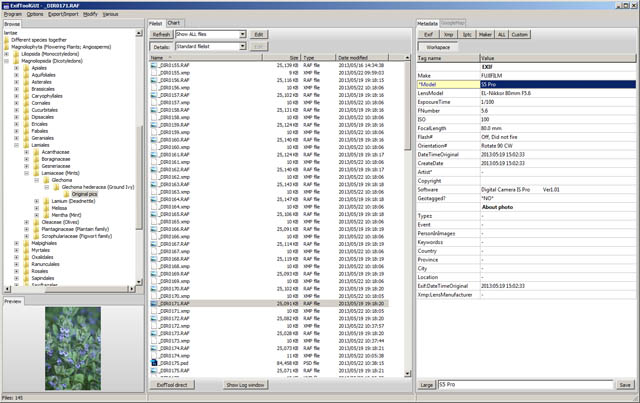
Editing camera model name using Exiftool GUI
As you can probably tell, there are several disadvantages to this solution. It involves an extra step, you have to modify your RAW files for it to work, and there also needs to be an existing supported camera that outputs RAW files in the same format as your new camera.
There are quite few different solutions to the problem I've covered here, you may be wondering which is best. Unfortunately that's not really a question I can answer as it depends a lot on how many photos you take and edit, how much you like to edit them and how you edit them, how much money you're willing to spend, and whether your computer is fast enough to run anything you can throw at it, or is an older machine. But hopefully from the information above you can work out for yourself which is likely the best solution for you.


I have taken RAW files on my new Sony Alpha7ii and I have converted them to DNG files using Camera Raw (just downloaded version 10.3) but my CS4 Photoshop won’t recognise these DNG files. Is this because my CS4 version of Photoshop is out of date or something else?
Hi Ian
You could try using the Adobe DNG Converter instead to see if that works. There are also several different options within the converter, and you may need to change the compatibility to get it to work in whatever version of Camera RAW it is that CS4 used. I’d suggest just trying with a single file and playing with the conversion settings until you can get it working. Hope that helps!
Dave