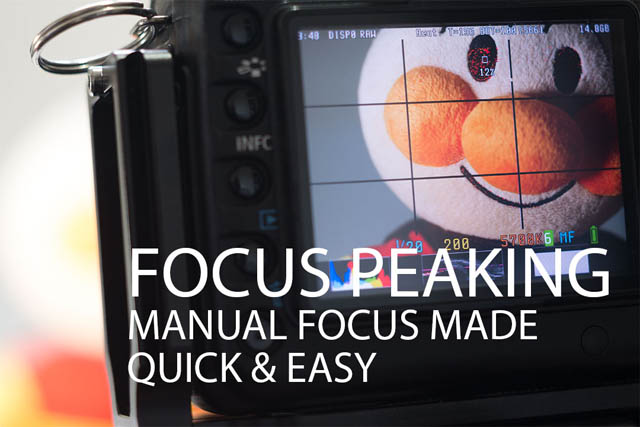
Focus Peaking – Manual Focus Made Quick & Easy
Focus peaking is a form of manual focusing aid found on most modern Interchangeable Lens Cameras, and some compact cameras as well. It works by overlaying a colored outline around (or over) the areas of the image that are in sharp focus, making it easy to see what part of the image is in focus.
While focus peaking has been available on video cameras for quite a long time, it is only in recent years that it has made its way over to still cameras. Although the addition of focus peaking to still cameras came about because the introduction of decent video capabilities to these cameras, focus peaking is actually very useful for still photography as well.
Why use Focus Peaking?
The whole idea around focus peaking is to make it easier to see whether something is in focus or not when manually focusing a lens. It's unlikely to be something you'd want to make use of when using an autofocus lens (unless using it in manual focus mode).

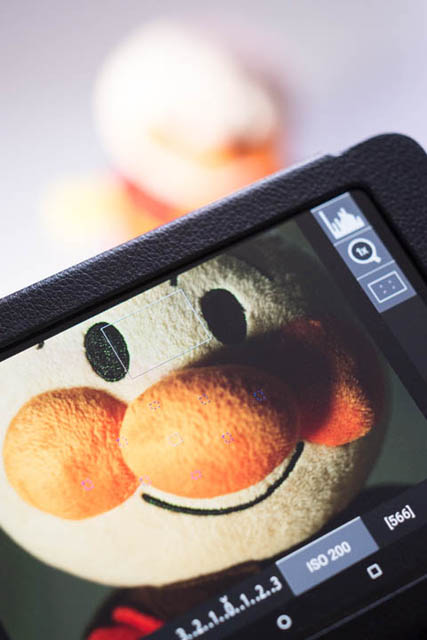
Day 320: bizzz bizzz by Bruce Guenter on Flickr (licensed CC-BY)
Focus peaking as a feature has been included on mirrorless cameras for a few years now. Strangely it hasn't yet been added to most DSLR models, though I suspect it will be included in future models reasonably soon. (The functionality can be added in other ways, explained in the next section on Using focus peaking).
One of the advantages of mirrorless cameras is that they have compatibility (via adapters) with a massive range of lenses from almost every previous camera system. Autofocus lenses only really started to be widely available in the mid to late 1980s. The vast majority of lenses produced before then, and still many produced after then, are manual focus. Most of these old lenses are available quite cheaply. And some of them offer very good image quality.
For focusing the old (or new) manual focus lenses, focus peaking comes in very handy. The colored highlights around in focus edges make it quite quick and easy to see exactly where the focus plane is, and what is in focus. Most photographers find it quite a bit easier to get a sharp shot using focus peaking than using the optical viewfinder of a DSLR when manually focusing a lens. (The focusing screens of modern DSLRs are designed for giving a bright image rather than making manual focus easy).

Luka by jannok on Flickr (licensed CC-BY-SA)
For photographing static subjects where you can take your time, focus peaking can be used, but it is not particularly useful. Generally in those cases you can instead just use a magnified view when focusing to ensure you get the focus spot-on.
Where focus peaking really comes into its own is when trying to focus quite quickly. For example, street photography using an old manual focus lens. It lets you see where the focus is quickly and easily without having to resort to magnifying the image, which would mean you loose view of how the whole image is composed. And even when using a magnified view, focus peaking can still help you confirm focus more quickly than you could otherwise.
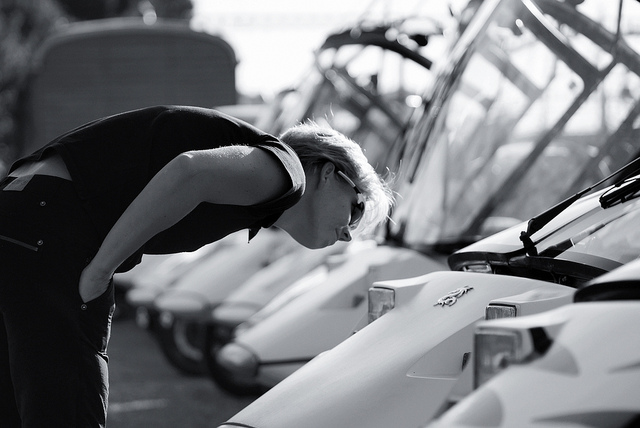
Dragon Rider by Karsten Seiferlin on Flickr (licensed CC-BY-SA)
For video work focus peaking is also very useful. It allows you to easily see the focus moving through the scene as you focus the lens. This makes it easier to switch the focus from one subject to another within a single shot.
Autofocus lenses (and the cameras they attach to) are getting better at being able to move focus during video. But the majority of cinematographers still prefer the smoothness and accuracy of manually pulling the focus instead of letting the camera / lens do it for them.
Using Focus Peaking
Focus peaking works by detecting edges of high contrast. An out of focus edge will be blurry, and so low contrast. While an in focus edge will be sharp and high contrast. A color is then added over the edge so you can see where is in focus.
Some camera models will let you choose the peaking color, while others have a fixed color. Being able to choose the color is most useful. For example, if your camera uses red as the peaking color, but you're photographing a red subject, then it can be difficult to see. If your camera allows you to change the color, then you can just select a different color, such as green, which is easier to see.
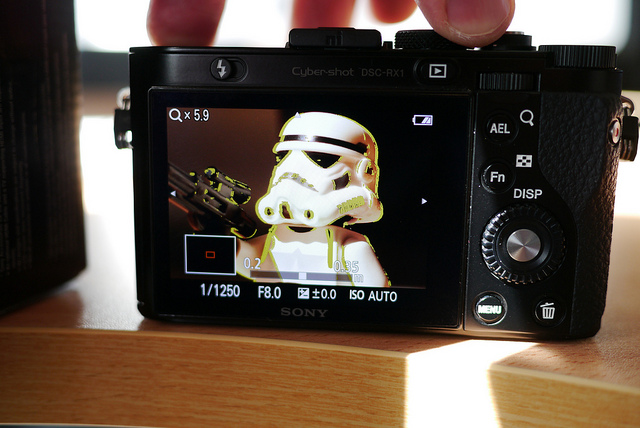
Sony RX1 focus peaking by Kārlis Dambrāns on Flickr (licensed CC-BY)
A live feed from the image sensor is required for focus peaking to work. This means that it is not available when looking through the optical viewfinder of a DSLR camera. It can, however, be added in the liveview mode of many Canon DSLRs by installing the Magic Lantern firmware. The Magic Lantern software adds a large number of features to Canon DSLRs, including focus peaking. Using a tablet / phone app or external monitor, as discussed later can also be used to use the feature with DSLRs.
For cameras that use an electronic viewfinder and support focus peaking, then focus peaking is available in both the EVF view and on the camera's rear LCD. With an EVF (or cameras that have no viewfinder and just a rear screen), the view shown is always taken straight from the camera's image sensor.
For either type of camera, focus peaking is typically disabled by default, and you will need to switch it on to use it. In some cameras this is done via the menus. In others you can switch it on/off using a button.
Most cameras also offer an option to configure how 'aggressive' the focus peaking is. This lets you determine how much contrast there needs to be for an edge to be highlighted with the color. When shooting with a lens that is not particularly sharp, or shooting in a low contrast situation (such as towards the sun), then you may need to choose a high level of focus peaking to get it to detect the in focus edges correctly.
When shooting with a sharp lens in high contrast lighting, then you might need to choose a low level of focus peaking. Otherwise it may show peaking around edges that are reasonably contrasty, but not actually in sharp focus.
For video work, you can also purchase external monitors that offer focus peaking. These typically connect to your camera's HDMI out port, and offer a much larger screen than your camera's rear LCD. This makes it even easier still to check whether the focus is exactly where you want it or not.
External monitors often offer various other features as well, such as customizable exposure zebras, but they do add bulk and expense to your setup. An external monitor could be used for stills photography if you wanted to, but the cost and bulk are usually only worth it for video shooters.
Another similar option to an external video monitor is using a tablet to control your camera. The feasibility of this depends on your camera model, tablet, and which app you choose to use to control your camera. But some of the apps do feature focus peaking.
Using an external monitor or a camera control app on a tablet does not rely on the camera's built-in focus peaking. This means they may use more sophisticated focus peaking algorithms than your camera. Or add more options like a wider choice of peaking colors to choose from. They can even work with cameras that don't have any focus peaking feature.
Focus peaking can be very helpful when trying to use manual focusing. If your camera offers it but you haven't used it, give it a try and see how much it improves your manual focusing speed and accuracy.
