How to add a Film Rebate border to your photos in Photoshop
A film rebate border refers to the black border around each frame of film, which often contains the name of the type of film. If you were shooting film, to include this border as part of the image would mean scanning the film yourself. Film processing companies would only scan or print the actual image area of the film, and wouldn't include the border areas.
With digital though, we can quite easily add in a faux film rebate border ourselves. Adding a border can act as a nice way to frame the image. It can also be used for adding copyright and branding text, rather than putting a watermark over the image.
In this article I'll go over how you can create a medium format style film rebate border using Photoshop CC / CS. We'll create a flexible border that can be easily resized to accommodate images of different aspect ratios and dimensions. And I'll also cover using a scan of a real film frame, which can be an easier and more realistic (though less flexible) solution in many cases.
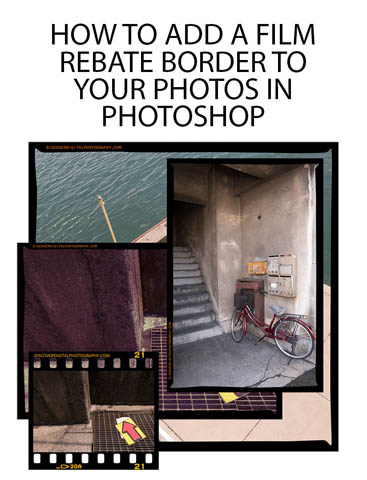
Image incorporates Film rebate by Graham Richardson (licensed CC-BY)
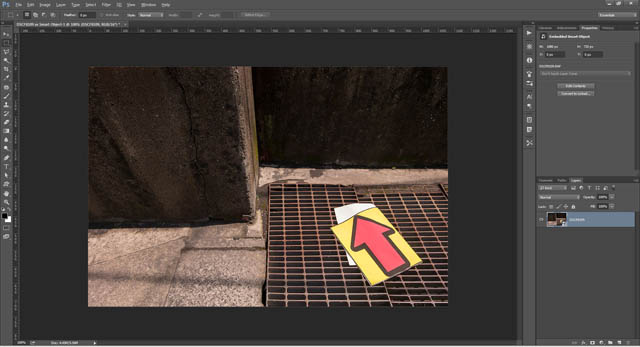
Although we'll be making a flexible size border, it helps to make your border the same size / aspect ratio as the photos you'll most often apply it to. So start by opening a photo that is shot in the standard aspect ratio you use.
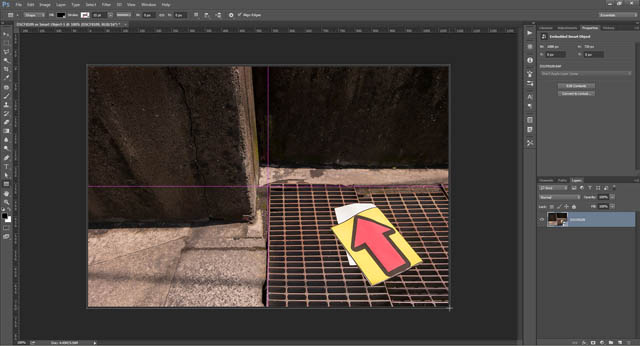
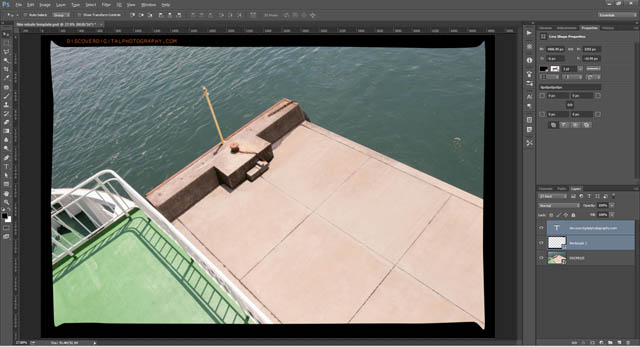
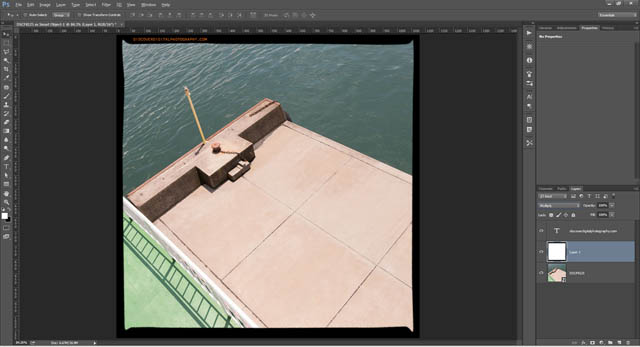
Select the rectangle shape tool from the tool palette. Set the tool mode to Shape, Fill to black, and Stroke to none. Then draw (click and drag) a rectangle that completely covers your image.
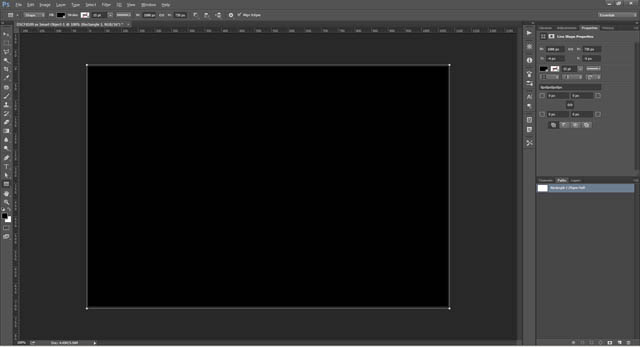
This will cover up your image with a solid black rectangular shape layer. In the layer palette you should be selected on the new shape layer you just created. Go to the Paths palette (Window > Paths if it is hidden) and select the path layer for the shape. It should be named Rectangle 1 Shape Path.
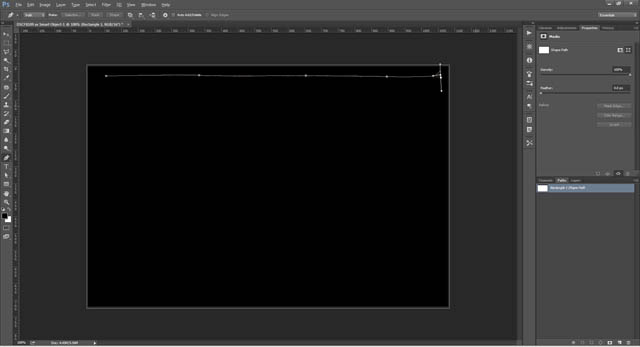
Now select the Pen tool. In the tool options, the tool mode should be set to Path and the Path operations should be set to Exclude Overlapping Shapes.
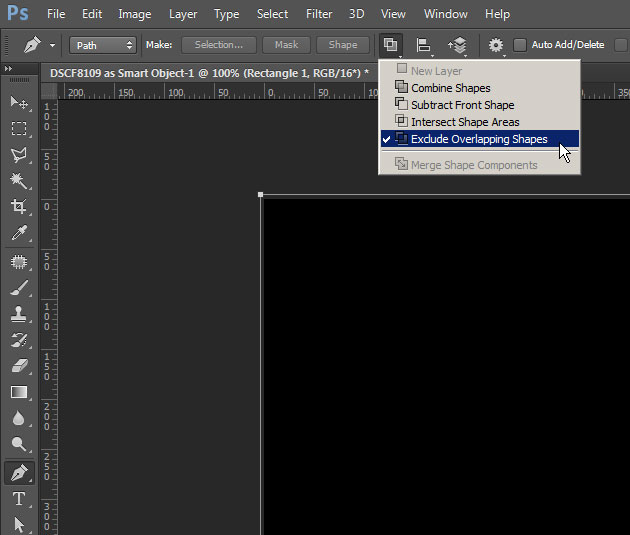
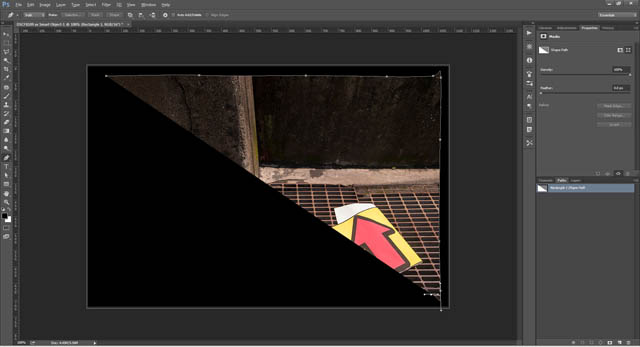
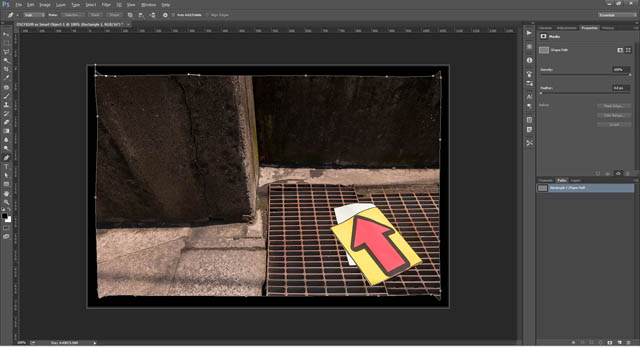
Click and drag to create a point with handles where you want part of the border to be. The handles are created by dragging the mouse, and you want them to point in the direction of the line you will be making. As I'm starting at the top border, I want the line to be horizontal.
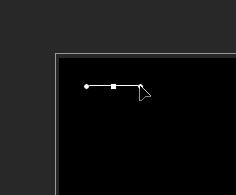
Note you don't need to try and ensure the handles are perfectly horizontal. We want some imperfection when drawing the border.
Continue clicking and dragging a few points along the edge until you get near the side. On the next point you need to change the direction you are clicking and dragging in, to start the border going down the next side. Drag the handles out enough on this point to create a triangle shape in the path at the corner.
Note that if you need to adjust the placement of a point or its handles, you can control / cmd click on a point and drag it to move it. When a point is selected, then its handles will appear, and you can control / cmd click on either of the handles to adjust the angle of both the handles together, or alt / option click on a handle to adjust only the angle of that handle.
Continue along the edge, doing the same thing at the next corner.
Continue around the rest of the image, eventually joining the path back up to the first point. You need to click on the first point to complete the path. Adjust any of the points / handles as you see fit.
The next step is to add our text to the border. This can be placed wherever you like, and you might want to add multiple pieces of text at the top and bottom of the border.
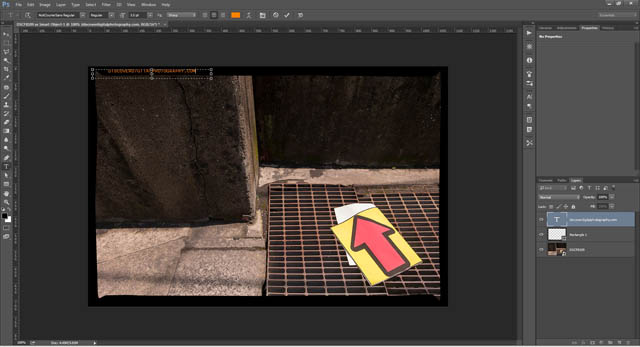
Go back to the layers palette and deselect the shape layer. Choose the type tool, and click and drag to create a new text layer. Type your text, then move the type layer in the layers palette so that it is above the shape layer.
Adjust the size, font, and color of your text as you like. I'm using the font NotCourierSans, which you can download here: OSP-foundry: NotCourierSans. The color I'm using is #f48106, which I think is a reasonable match for the color text on most real film rebate borders.
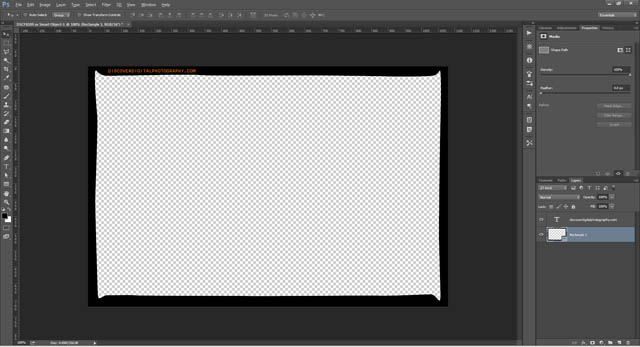
Add any more text you wish, then delete the image layer, so you're left with just your border, text, and a transparent background, then save the document somewhere as your border template.
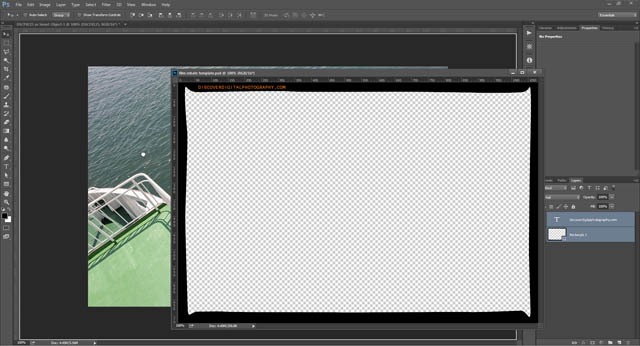
Adding the border to an image with the same scale as the image used when creating the border is very simple. Open the image you want to add the border to, and also open your border template. Click and drag the border template window so that it is visible above the image window.
Then select the layers from the layer palette. While holding down the shift key, click and drag the layers to the window with the photo in it.
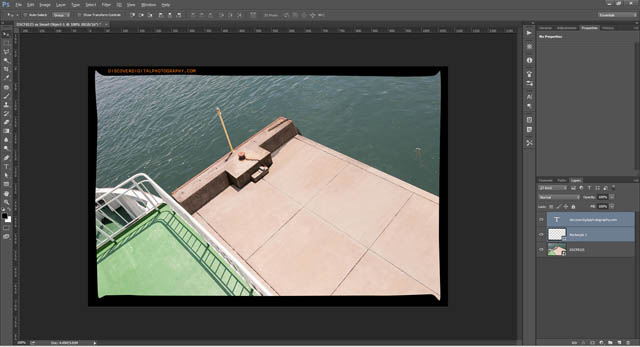
This places the layers in your image document. You can now close the border template image.
If the image you are adding the border to is the same aspect ratio, but a different size (resolution) to the image you used for creating the border, then you might need to resize the border.
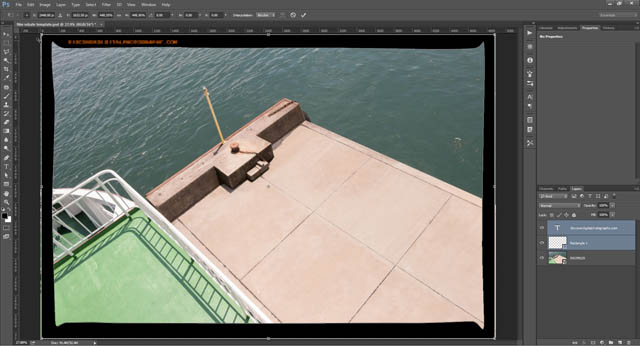
Select the border and text layers in the layer palette, then press Ctrl / Cmd + T to free transform the layers. Hold down the shift key and alt / option key while dragging out a corner of the frame until it fills the image.
When done press Enter to accept the transformation. Because we are using a shape layer for the border and text layer for the text, rather than a raster layer, they resize nicely without any pixelation.
Applying the frame to images with a different orientation or aspect ratio
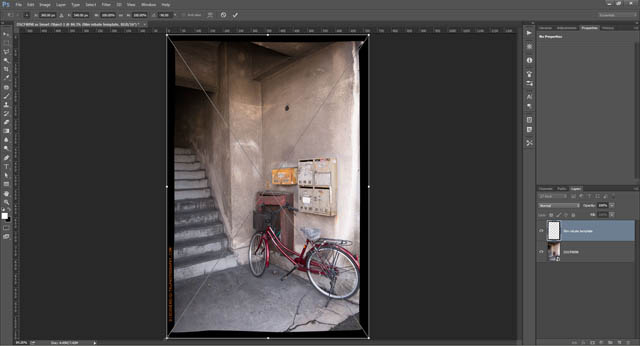
Now, what about when the image is a different aspect ratio? In this case we need to carry out the same steps as before, dragging the border layers across to the image. If the image is in portrait orientation, whereas your border was created in landscape orientation, then free transform the border and text layers, and rotate them by -90°. Then transform them to fit the image.
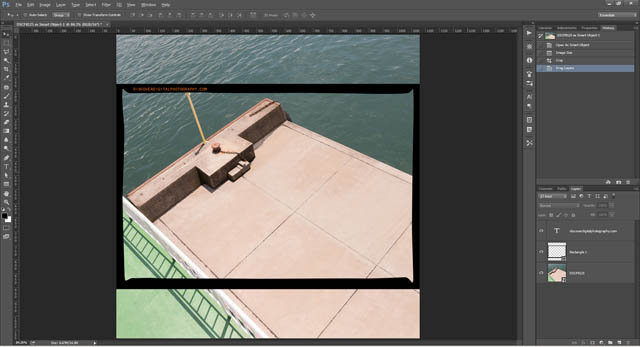
If the image is in a different aspect ratio entirely, i.e. if it has been cropped, then you should rotate / resize your frame so that the longest edge of your frame is aligned / the same size as the longest edge of your image.
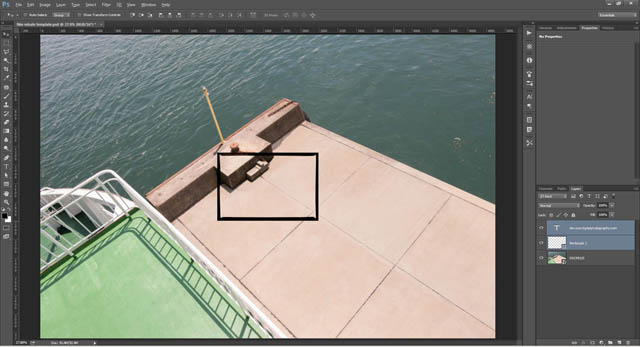
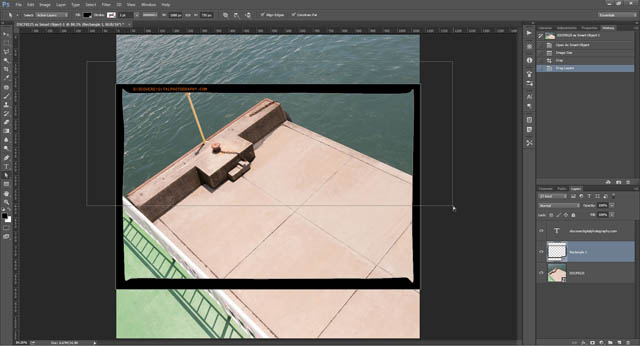
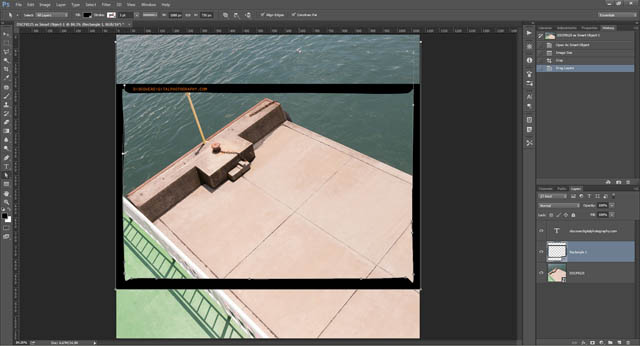
Now use the Direct Selection Tool. With the border layer selected in the layer palette, click and drag a square across the top half of the border.
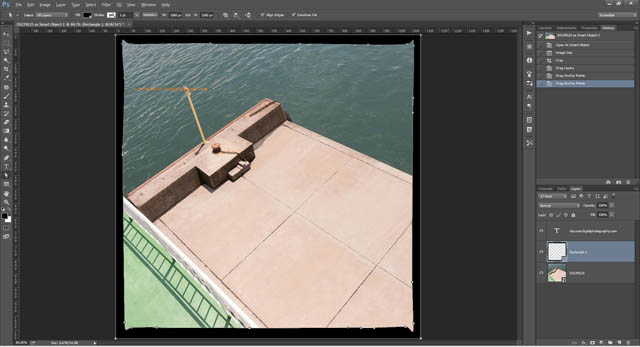
Now click on one of the points in the selected top half, and drag it upwards while holding the shift key, until you've pulled the top half of the frame to the top of the image.
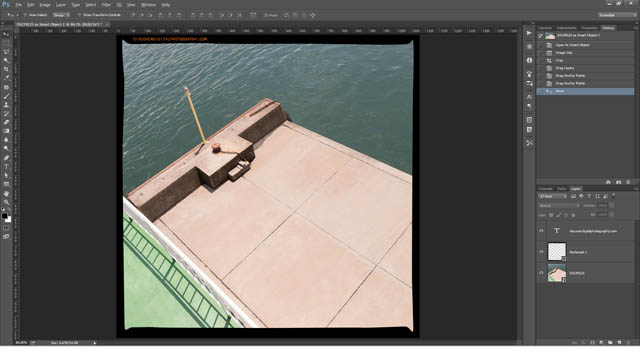
Next do the same for the bottom. Use the Direct Selection Tool tool to draw a rectangle selecting the bottom half of the frame. Click and drag a point while holding the shift key, to drag it down to the bottom of the image.
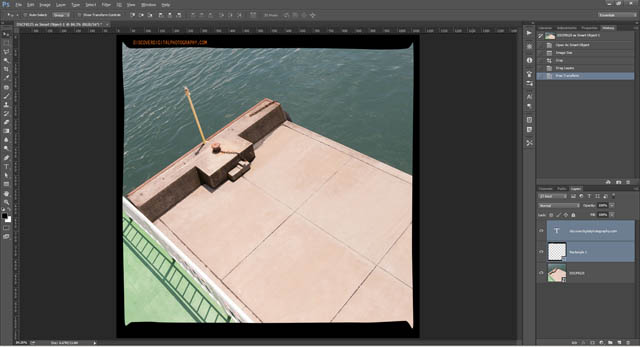
Finally, re-arrange your text layers. Holding down the shift key while dragging them ensures that you move them only in one direction (up and down but not left or right, or left and right but not up and down).
The reason for transforming the frame like this is that it only stretches the sides of the frame, and does not stretch the corners, or fatten the sides that are already the correct length. For comparison, here is what the frame looks like using only free transform to fit it to the different image size:
Making the edge less clean
At the moment the edge of our frame is very clean, for a more realistic look the edge should be a bit rougher where it meets the image. Unfortunately I'm not aware of a way this can be done easily with a flexible shape frame, so these next steps need to be carried out after you've resized the frame to fit your image.
We'll make the edge less clean by adding noise to it. In Photoshop CC we can do this easily using the Camera RAW filter. In older versions of Photoshop this filter is not available, so you'll have to resort to the noise filter. I'll cover both methods below.
Using the ACR filter
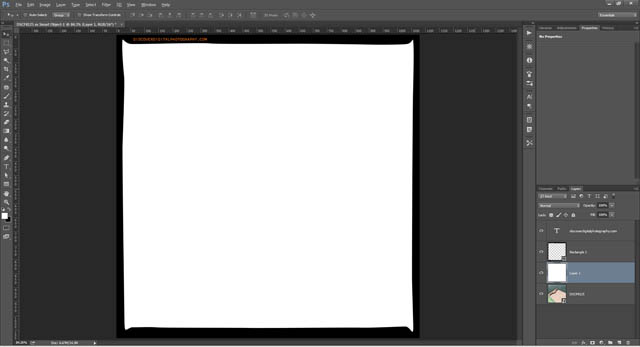
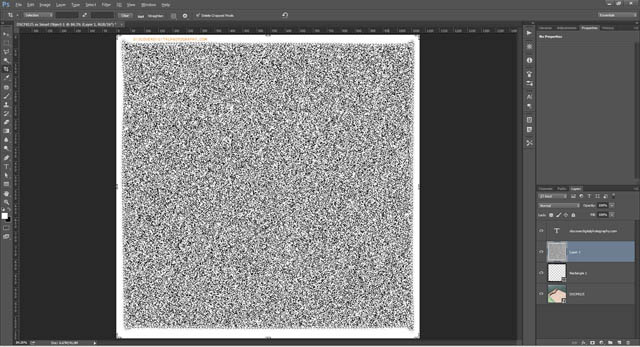
Select your image layer in layer palette, then create a new layer. Fill the new layer with white. (If white is your background color you can do this by pressing Ctrl / Cmd + Backspace, or if it's your foreground color press Alt / Option + Backspace).
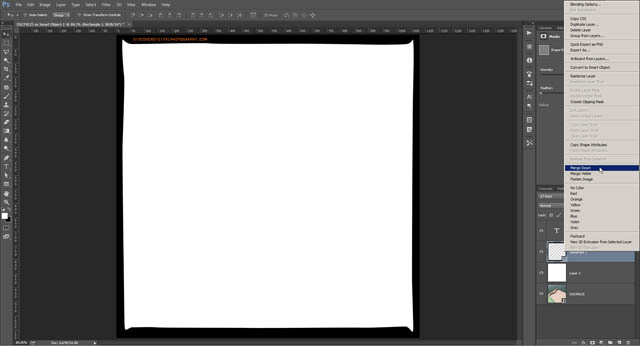
Right-click on the border layer in the layer palette and choose Merge Down. This merges the border layer with the white layer below it.
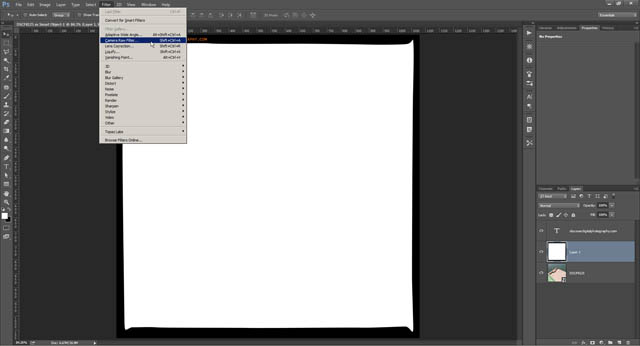
Now with the merged layer selected, go to Filter > Camera Raw Filter.
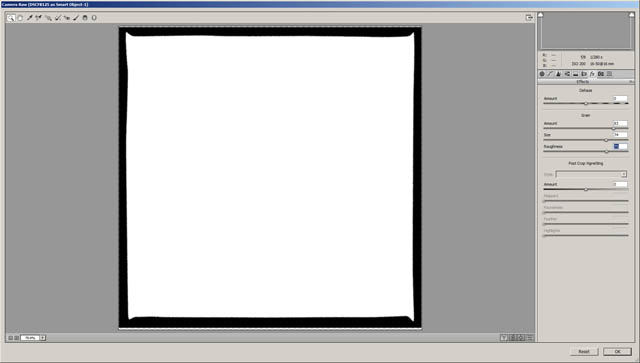
In ACR, go to the Effects tab. Under the Grain section, adjust the Amount, Size, and Roughness sliders to give a rough edge to the border. I find large settings for all three adjustments work well.
OK the filter, then change the blend mode of the layer to Multiply and the border now breaks up a little where it meets the image.
Using the Add Noise filter
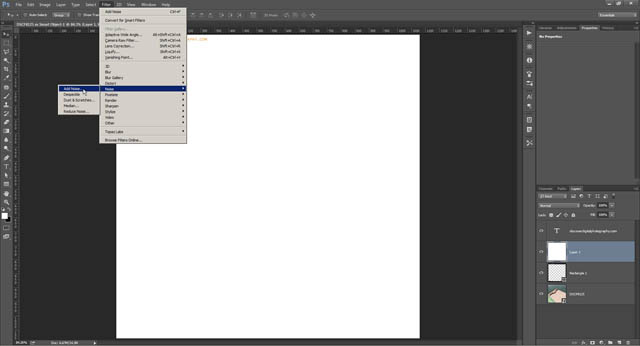
For older versions of Photoshop you can use the Add Noise filter. Create a new layer and fill it with white. Then go to Filter > Noise > Add Noise...
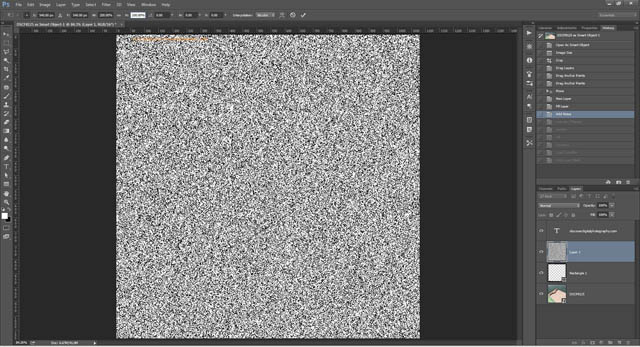
In the Noise filter options set the Amount to at least 100%. Distribution should be Gaussian. And Monochromatic should be checked.
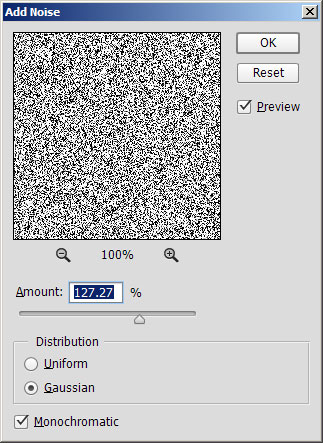
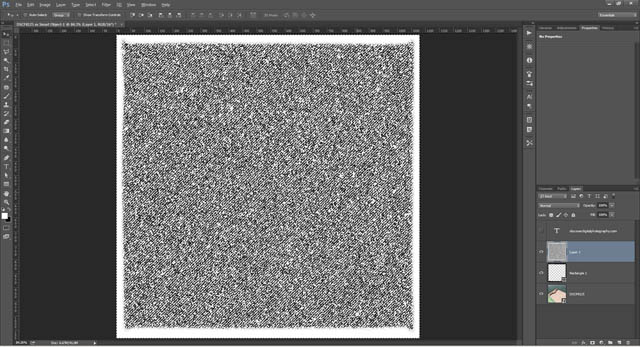
OK the filter, then press Ctrl / Cmd + T to free transform the noise layer. The noise is too fine, so we'll double the grain size by transforming the noise layer to twice the size. The easiest way to do this is by entering 200% in the W and H transform settings.
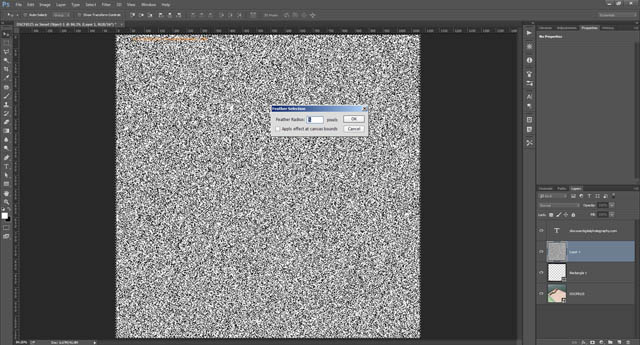
Press Enter to accept the transformation. Next Ctrl / Cmd click on the layer thumbnail of the border layer to create a selection based on the border. Go to Selection > Modify > Feather. The amount of feather to apply depends on how large your image is and how deep into the border you want the noise effect to apply. This image is 1080px square, and I've chosen a feather radius of 5px.
OK the feather. With the noise layer selected in the layer palette, fill your selection with white. (If white is your background color you can do this by pressing Ctrl / Cmd + Backspace, or if it's your foreground color press Alt / Option + Backspace).
Hide any layers you have above your noise layer (or move the noise layer to the top of the layer stack). With the noise layer selected in the layer palette, press Ctrl + Alt + 2 / Cmd + Opt + 2. This creates a selection based on luminosity.
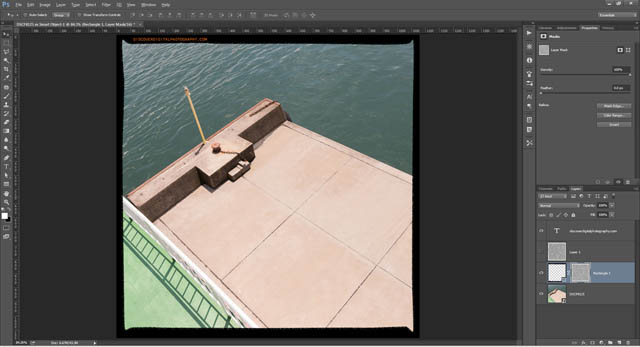
In the layer palette, hide the noise layer and show again any layers you had hidden. Select the border layer in the layer palette, and with the luminosity based selection still active, add a layer mask (the little icon at the bottom of the layer palette that looks like a rectangle with a hole in the middle).
With a layer mask, white reveals and black conceals, so most of our border is fully visible, while the edge is partially shown and hidden based on the noise pattern.
This process of adding noise can be done fairly quickly when experienced with the procedure, but it still takes quite a bit more time than just dragging the border layers across. My suggestion would be to create pre-noised borders at the common image sizes you use. That way for most images you can just use a border template that is ready to go.
On the odd occasion when you have an unusual size / aspect ratio image, then you can go through the above procedure of manually resizing the border and adding noise.
Bear in mind that with this technique the border overlaps the edge of your image. If you don't want to lose the edge of the image, you can transform the image layer to make it smaller after adding the border. Or you can expand the canvas size so that it is larger than the image, then transform the border so that it is larger than the image and the inside edge only just covers the edge of the image.
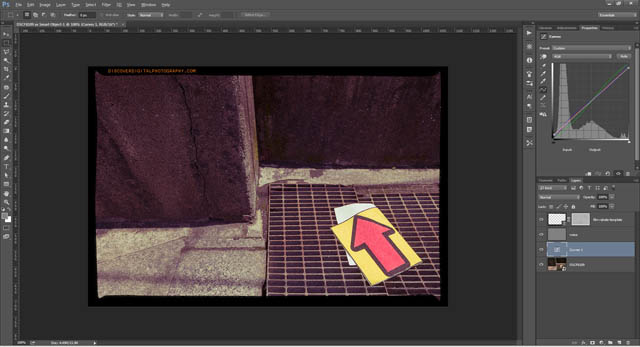
You will also likely want to add noise to the actual image, and possibly perform some tone and color adjustments, to give the image a more filmic look. You can use the ACR noise filter if you are using Photoshop CC.
For older versions of Photoshop, you can add noise by creating a new layer and filling with 50% gray. (When picking your color set the HSB values to 0 0 50%). Use the Add Noise filter to add only a small amount of noise - around 10%. Then apply a very small amount of blur (0.5px of Gaussian blur). Finally set the layer blend mode to overlay. (See here for these steps in further depth: Simulate Film Grain In An Image With Photoshop).
Using a fixed ratio real film border
If you're after a more realistic looking film border, you can't get much realer than using an actual scan of a film frame. You can scan your own film, or find scans made available by others online. Make sure you note the licence terms of any film border images you pick up online though.
With a film border image, it can't be changed in size to fit different aspect ratio images without stretching and distorting it. But if you use a frame of 35mm film for your border, and shoot your images in 3:2 aspect ratio, then your images will always fit the frame unless you crop them.
Or if you always crop your images to a square, then a scan of a square frame of medium format film will work well for your images. For this example I'll be using a 35mm film frame scan:
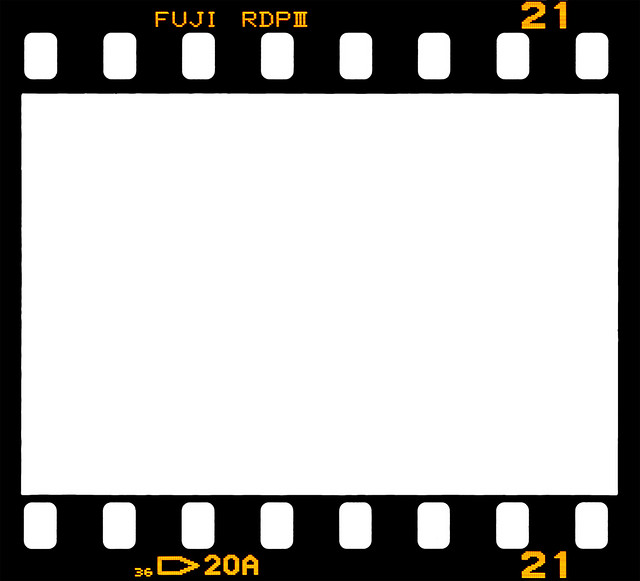
Film rebate by Graham Richardson on Flickr (licensed CC-BY)
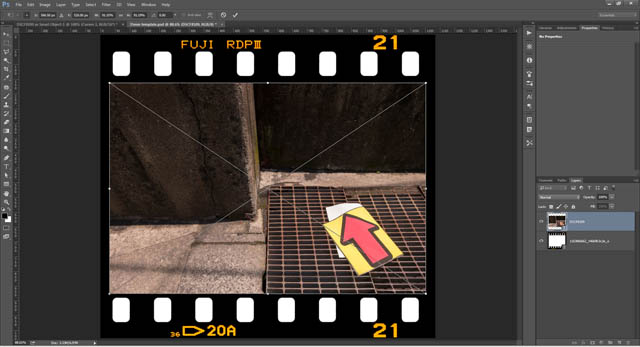
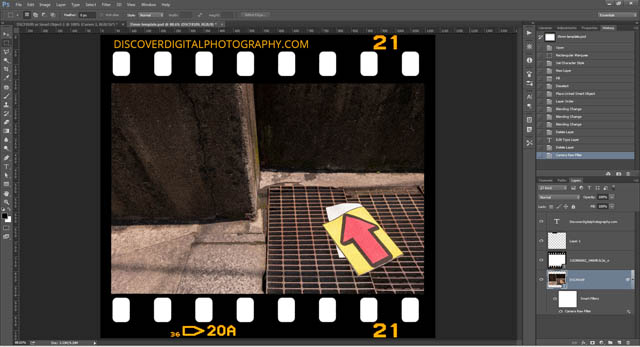
To add the film frame to your image, you can either open the frame, then add the image to it. Or open your image, then add the frame to it. I find it easier to open the frame, resize to the desired output size, and then insert the image. When the image is inserted it then needs to be resized so it just fits over the empty area in the middle of the frame.
In the layer palette, arrange the layers so that the film border layer is above the image layer. Change the film border layer's blend mode to multiply. You may also want to add film grain to your image, and replace some of the text in the film border with your own.
If you have any trouble with any of the steps in this tutorial, please leave a comment below, and I'll see if I can help.
