Taking Great Flower Photos
When photographing flowers there are two routes you can take. One is documenting the flower, where the photos show what the flower or parts of the flower look like. The other is to create an artistic image, one whose purpose is to evoke an emotional response rather than present an accurate portrayal of the flower.
Of course, a technical photo of a flower can still be artistic and create an emotional response to it. And an artistic photo may not create an emotional response in everyone who views it. Art is, after all, subjective. But the driving purpose behind the creation of the photograph is quite different.
In this article we'll be looking at flower photography from both points of view, but focusing more on the artistic side.
For good artistic flower photos you really need to understand how to use your equipment, the technicalities of photography, and what your different camera settings do. It may sound counter intuitive that you need understand all the technical details to create artistic photos.
But a good record shot of a flower is very easy to create. Just use a phone camera or compact camera, and you can get a useful image with all the flower in focus. For an artistic photo you need to make more decisions, such as what part of the flower to focus on, how it should be lit, what the background should look like, how much of the image should be in focus, and more. All these choices come back to understanding the technical details of photography.
Understanding the technicalities means you know how to create the image you are looking for. It allows you to focus your attention on being creative. You can focus on how the image should be best composed and lit, rather than worrying about why the image is coming out too bright / dark, or other technical issues.
A good painting is mainly a result of the painter's skill, but the choice of paints, brushes, and canvas they use all affect the look of the final image. It's just the same in photography. A good photo is mainly dependent on your skill and creativity as a photographer, but the equipment you choose to use can have a large effect on the resulting image. Part of your skill, then, needs to be selecting the most appropriate equipment for the look of the image you want to create.
Lens choice
A wide-angle lens allows you to include a wide view of the background behind your subject. This can be very useful when you want to photograph a flower, and show the habitat around it.
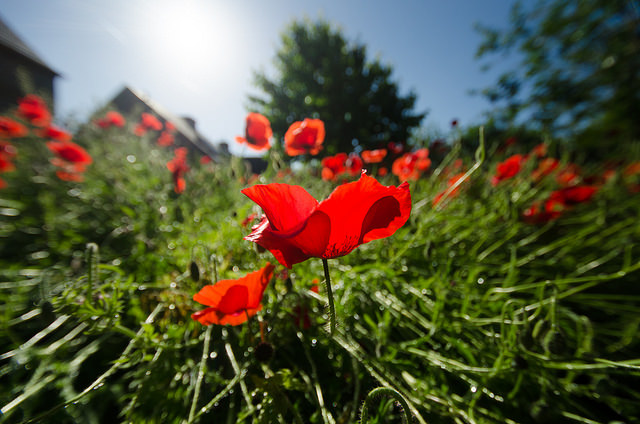
10mm bokeh by Tobiasvde on Flickr (licensed CC-BY-SA)
A telephoto lens, on the other hand, has the opposite effect. It includes only a very narrow angle of the background behind the flower. This can be very useful for creating clean uncluttered backgrounds.
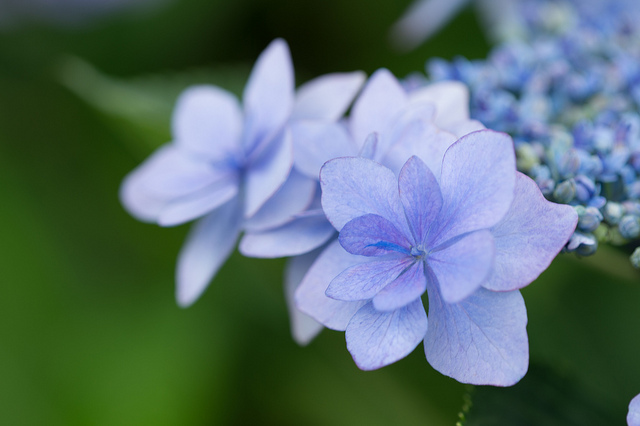
Hydrangea by Takashi Hososhima on Flickr (licensed CC-BY-SA)
A telephoto lens also has a 'compression' effect, making items in the frame seem closer together. This can be useful when photographing a whole field of flowers - the flowers appear densely packed together.
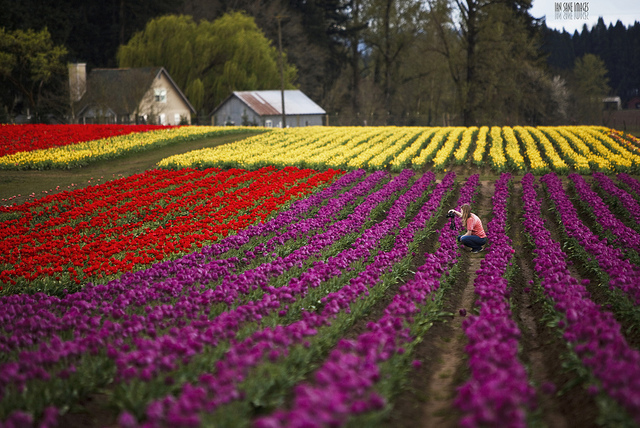
Capturing Color by Ian Sane on Flickr (licensed CC-BY-ND)
With a wide angle the effect is the opposite - flowers nearest you will seem spaced quite far apart. Further in the background flowers will look more closely packed together, but they will also appear much smaller in the frame.
With either type of lens, you need to be able to focus quite closely to achieve an image where the flower is a reasonable size in the frame. Macro lenses are optimized to give great results at close focusing distances. You can also use accessories such as close-up diopter filters or extension tubes / bellows to allow any lens to focus more closely.
Tripod
A tripod is not essential, but it can come in very useful. Flowers won't run away, giving you plenty of time to carefully consider and set up your shot. A tripod helps in this sense, because it forces you to think more about where the best position to photograph the flower from will be.
When you have the camera set up on the tripod you can carefully analyze the composition through the viewfinder (or on the rear screen). You can spend the time to notice any distracting background elements, or part of the flower you've unintentionally cut off at the side of the frame. This is much more difficult to do when hand-holding the camera.
When considering a tripod, look for one that allows you to position the camera near ground level. Also pay attention to the size and weight of the tripod - you want one sturdy enough to bear the weight of your equipment, without being so big and heavy that you never want to bring it with you.
Focusing
For close-ups of flowers, particularly if you're working handheld, then you'll probably want to use manual focus. Many lenses have trouble autofocusing near their closest focusing distance. And if you're working handheld, you can move the camera a small amount between the time the camera focuses and the time you press the shutter fully to take the photo. This movement, although small, can be enough to shift the focus to a different point in the image.
Instead, you are better off using manual focus. Look through the viewfinder, and when you see the area you want in focus come into sharp focus, press the shutter button to take the photo.
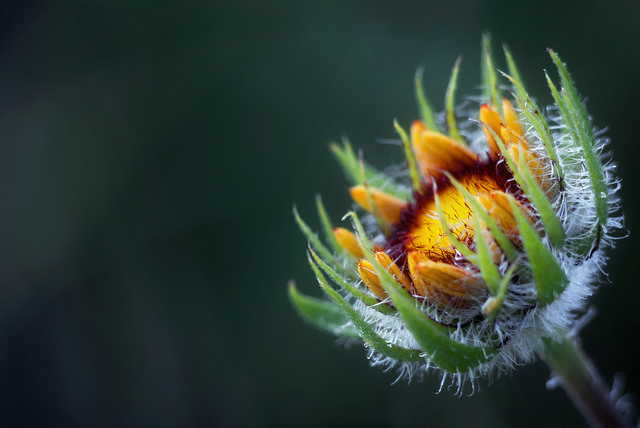
Baby Blanket Flower Macro by MattysFlicks on Flickr (licensed CC-BY)
For non-closeup photos, you can use either manual or autofocus, both will work fine.
Composition
Take your time to carefully compose the image, the longer you give yourself to think about an image, the better it is likely to be. This may involve taking several different shots of the flower. Take a photo, then evaluate it - is there anything that could be improved?
What is the most important part of the image, what drew you to take a photo of this flower? Think about what it is you want to include in the image, and anything that is currently included in the frame that detracts from that. Does the photo really capture the essence of what you wanted to capture?
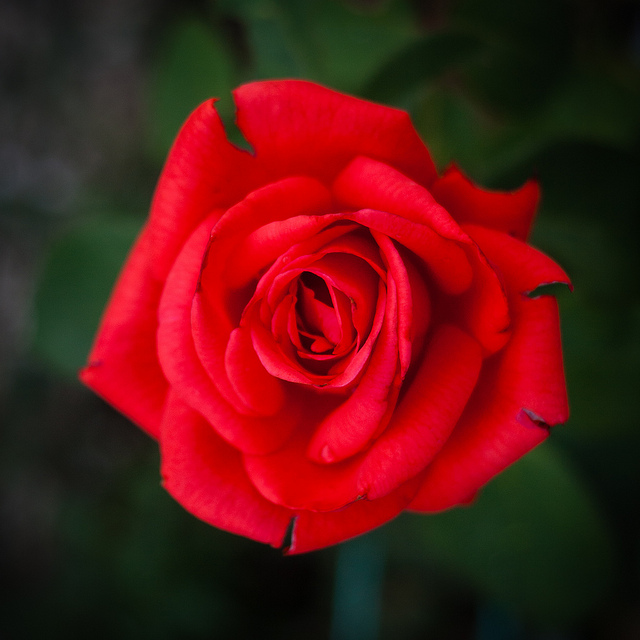
Red by Paul Chiorean on Flickr (licensed CC-BY)
Once you've thought how the image could be improved, then see if you can put those improvements into practice and end up with a better image. In some cases the improvements you can think of will not be possible (or at least would be very difficult) to implement. That's okay. Just aim to get the best photo you can of what it is you want to show, then move on to the next shot.
When going to take a photo of a flower, check first that it is fresh and unblemished (unless that is part of what you want to show). Typically you'll find multiple blooms of the same flower close together. Some might be partly eaten, some may be going over and a bit brown, while others will hopefully be in pristine condition.
Blemishes and holes in petals aren't immediately obvious when looking at a flower with your eyes, but they seem to be more obvious, and distracting, when looking at a photo.
The background behind the flower(s) is an important part of the image. It can compete with the subject, or it can complement it. If you find yourself with a busy background behind the flower there are a few things you can do:
- Move closer to the flower
- Use a shallower depth of field (larger aperture, such as f/2.8)
- Shoot from a different angle to put a different area of background behind the flower
- Use a longer focal length, to capture a smaller portion of background behind the flower
- Clean up the background (often branches and flowers in the background can be gently bent round and 'hooked' behind other plants out of frame).
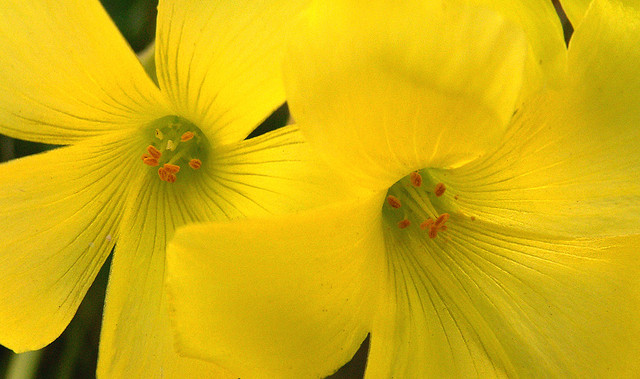
Slice of Oxalis by cobalt123 on Flickr (licensed CC-BY-SA)
Where a background contains an element with a strongly contrasting color or tone, this can also detract from the image. For example, with an out of focus background of green with a red flower in it, the red flower, although out of focus, contrasts strongly with the green and attracts the viewer's attention.
Or with a bright white flower in the background against a darker green, the brightness attracts the viewer's attention. Color and tonal contrasts can be used very effectively to help the main subject of your image stand out from the background. But generally it's a good idea to try and avoid including them as part of the background.
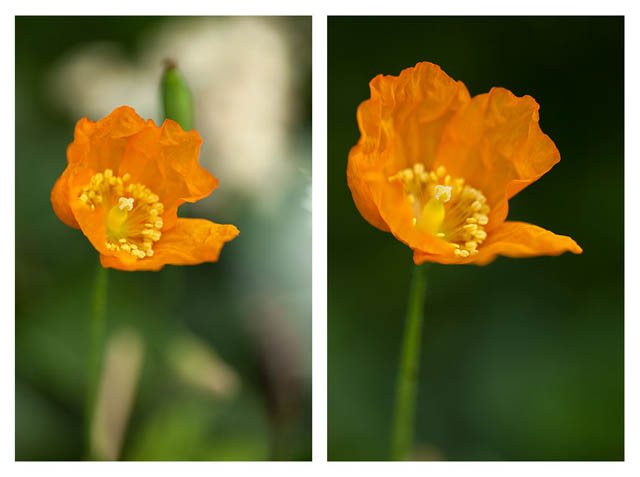
The contrast between the green seed pod and white flowers in the background attracts attention away from the flower (left). By gently bending these out of the way a much cleaner image could be achieved (right).
For macro abstract images, it's less about planning how you want the image to look, but rather finding what possible images there are to capture. I suggest using the camera handheld, and setting your lens to the nearest focusing distance. Look through the viewfinder and observe what compositions evolve as you move the camera nearer and further from the flower, left to right, and up and down.
At the macro level only a very small movement can produce quite a different resulting image. It's just a case of looking until you find a pleasing composition, then stopping and trying to make the most of that composition. You'll find the flower turns into shapes, colors, and forms, rather than just being a flower.
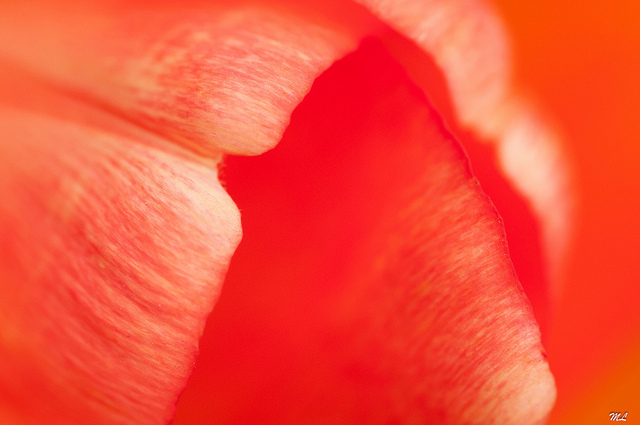
Tulip / Tulipe by Marc Lagneau on Flickr (licensed CC-BY-ND)
Lighting
Lighting will depend a lot on what you want your image to show, and also how wide the scene is you're photographing. If you're photographing a single flower, you have quite a lot of control over how it is lit. If you're photographing a whole field of flowers, then you are reliant on the weather and time of day for how it is lit.
As a general rule, flower photos tend to look better with soft diffused lighting. This complements the soft and delicate feel of most flowers. If you're photographing in harsh sunlight, you can create soft lighting by placing a diffusion panel between the flower and the sun. Or place yourself between the flower and the sun, blocking the harsh light and putting the flower in shadow.
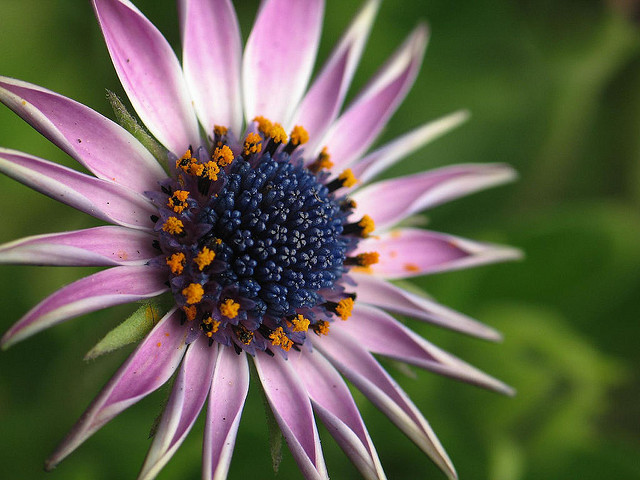
awaiting by John D. on Flickr (licensed CC-BY)
In some instances you might want to add some flash to your flower photos. Generally you'll want to use off-camera flash, as on-camera flash can give an image that looks very flat with no texture.
Flash can help brighten an image, and can be used to help draw attention to the flower against a darker background. Flash when used normally, won't work at shutter speeds above around 1/250s (this varies between camera models). But in bright light your shutter speed may well need to be faster than 1/250s for a well exposed image.
To get round this, you'll need to switch your flash to high speed sync mode. This allows the flash to work at faster shutter speeds. If your flash doesn't feature HSS, then you can add a neutral density filter to the lens instead. This reduces the light your camera receives, so you can use a slower shutter speed without overexposing the image.
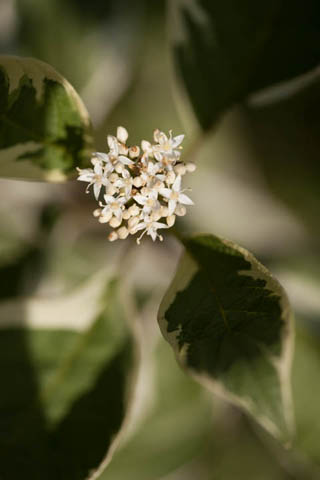
Lit only with natural light, the shadows and highlights on the leaves can attract your attention away from the flowers in this image
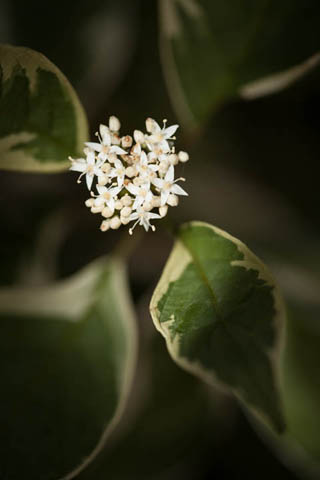
By using an ND filter on the camera to bring the exposure down while allowing a shutter speed within the flash sync speed, a snooted flash could be used to help highlight the flowers
As well as using front lighting, many flowers can look great when backlit. Back lighting nicely showcases the translucency of flower petals. It can be a great technique to try if you're photographing flowers in harsh light.
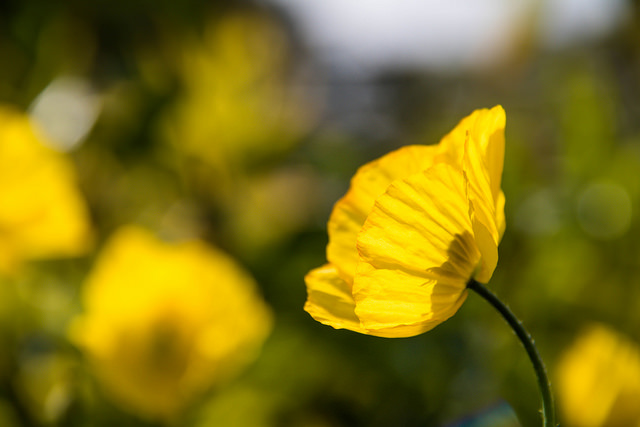
Yellow poppies by Susanne Nilsson on Flickr (licensed CC-BY-SA)
Flowers, with their large variety of forms, and often bright, striking colors, can offer beautiful yet easy to find subjects for photographers. The challenge is in capturing the essence of what makes the flower so striking, to provoke an emotional response from the viewer. Hopefully by following the tips above, and of course, plenty of practice, you'll better be able to achieve this with your flower photography.
